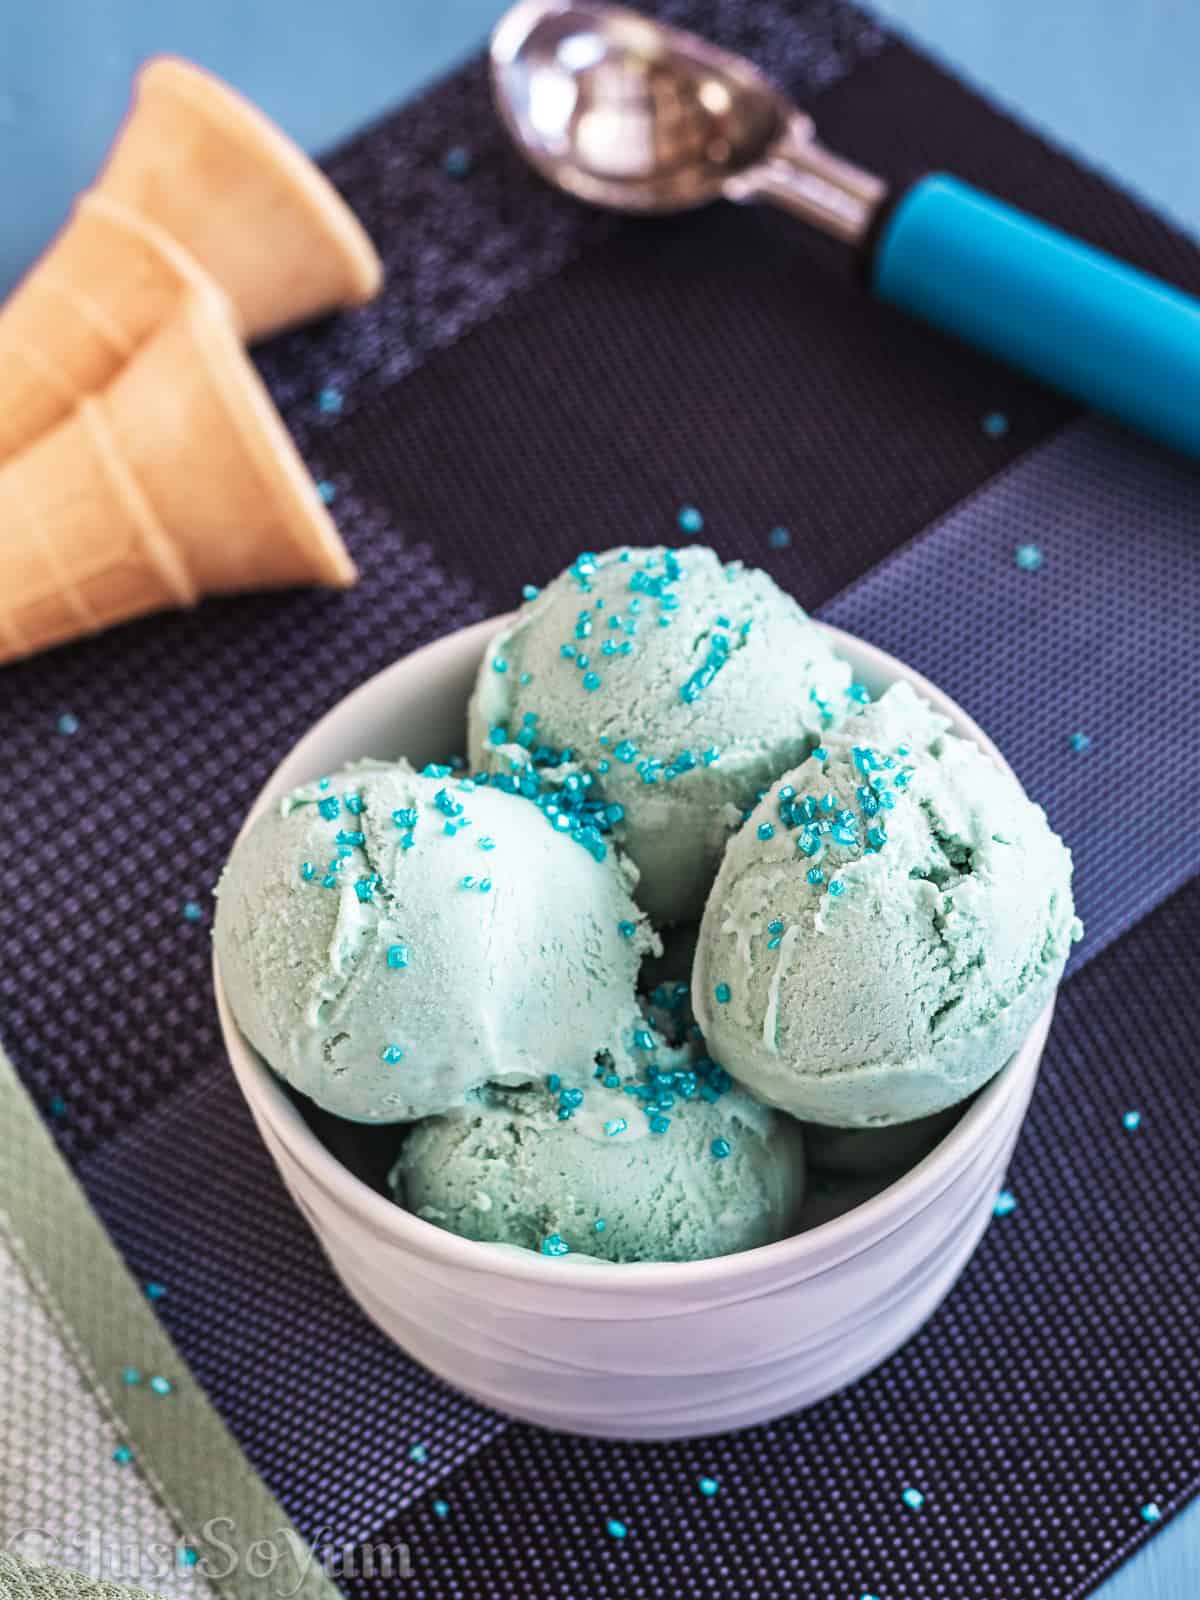
No-Churn Blue Heaven Jelly Ice Cream

Creamy, delicious and super simple to make. And you won’t believe the taste of this Jelly Ice Cream.
Keeping to the tradition of cream and condensed milk, I wanted to try something different by adding jelly or jello crystals to the mix. And the results are fantastic.
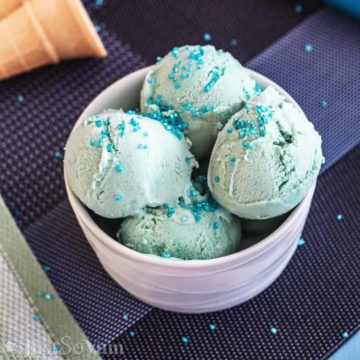
Blue Heaven Jelly is a favourite in our house for jelly, so using it to make jelly ice cream was a no brainer. And it tastes so much like a Blue Heaven milkshake.
However, you can use whatever flavour you prefer, or even go a little crazy and make a few different ones and combine them to make a rainbow look.
How to make Jelly Ice Cream at home
Just like our other ice cream recipes, this is super simple to make, except with this one, I am not using the Kitchen Aid Ice Cream Bowl.
However, if you have one, you can still use it.
Ingredients
- Thickened or Whipping Cream
- Sweetened Condensed Milk
- Vanilla extract
- Jelly or Jello Crystals
- Food Colouring
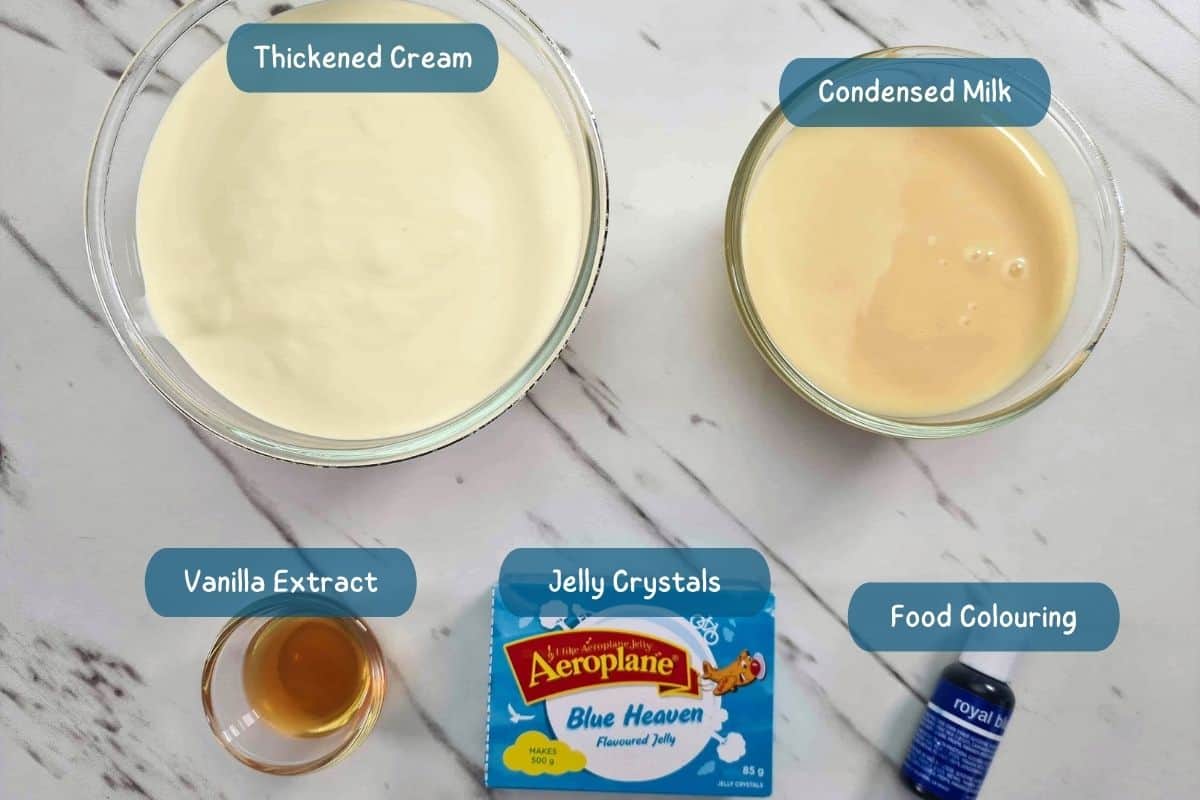
Tip: make sure your condensed milk is chilled.
Method
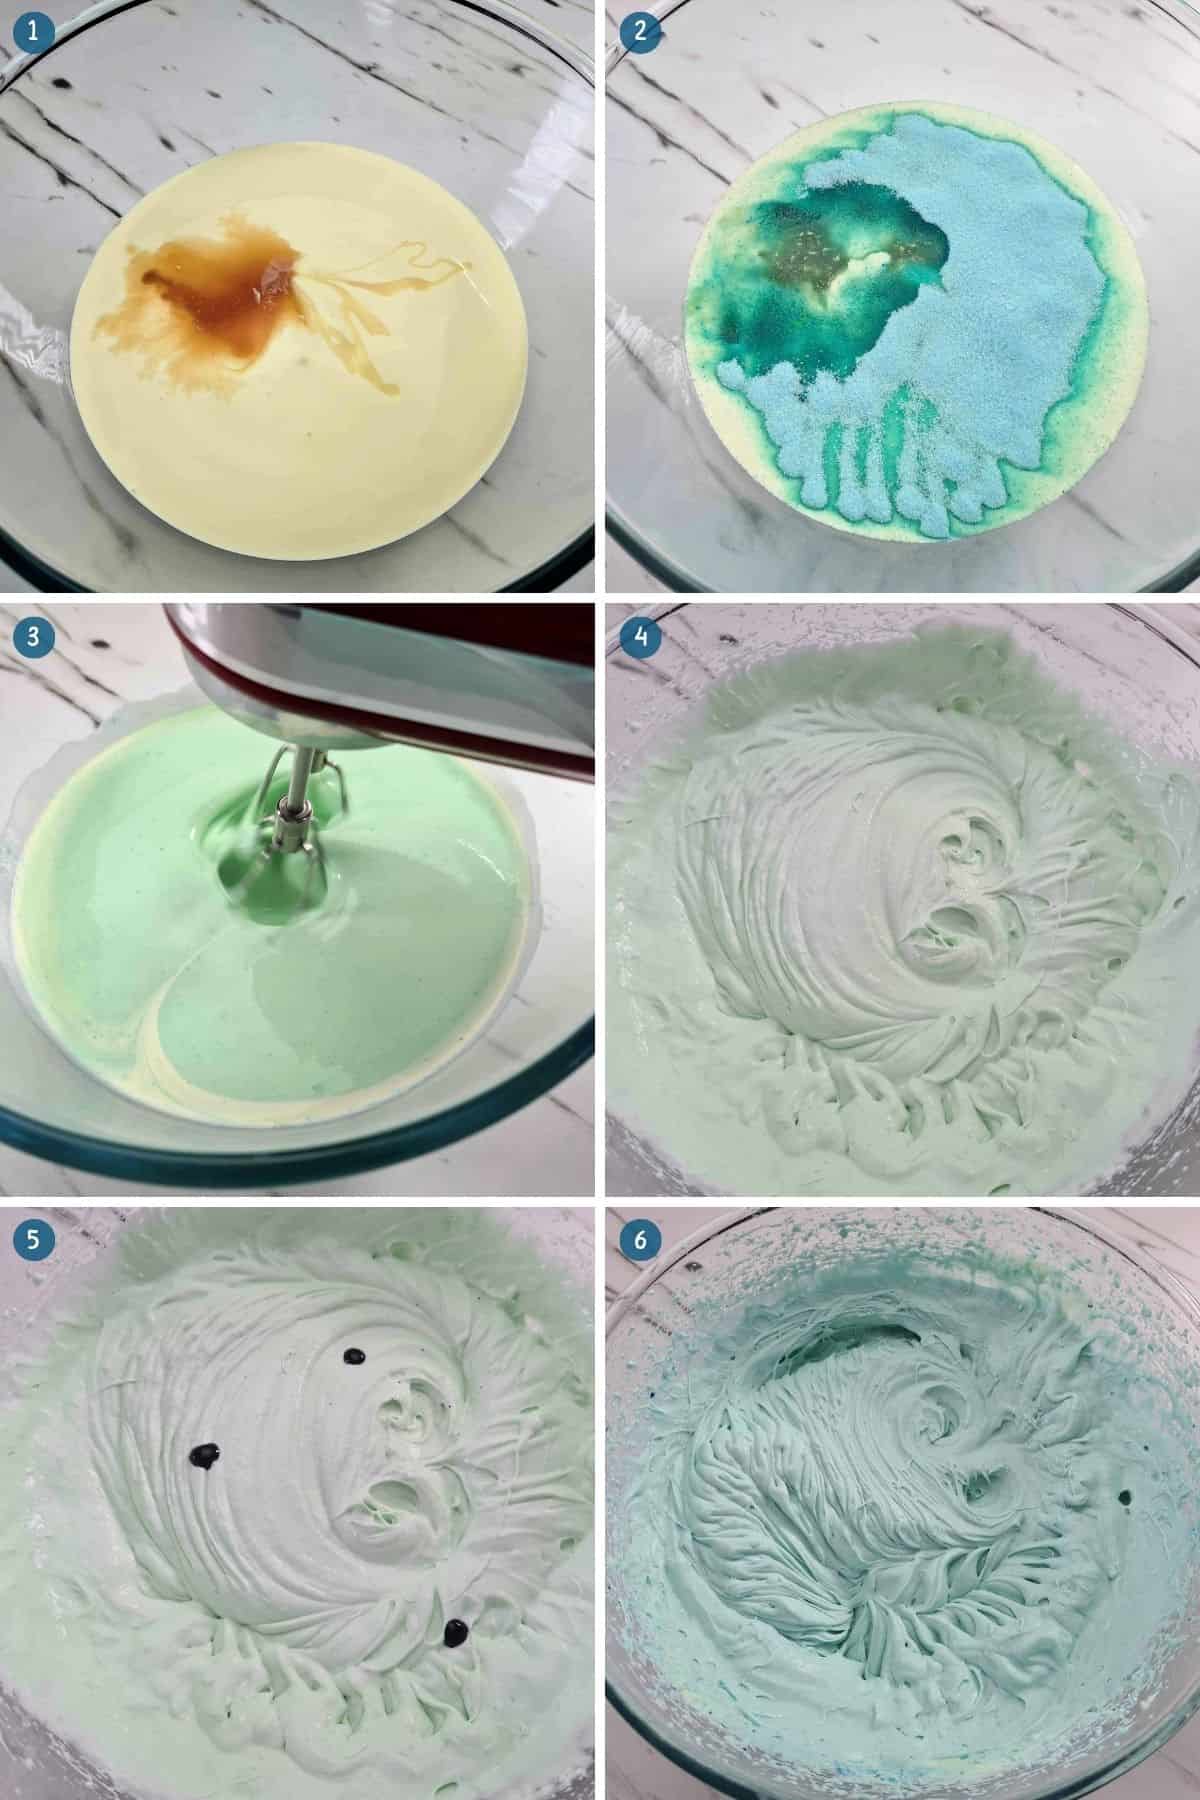
In a mixing bowl, combine cream, condensed milk, vanilla extract and the Jelly Crystals of your choice.
Use a hand mixer or stand mixer and mix until your mixture is thick and creamy.
The jelly or Jello crystals will add colour to your ice cream, but you can add some food colouring to increase the colour if you like.
Be sure to mix well after each addition of food colouring.
As I am using Blue Heaven Jelly Crystals, I will add a few drops of Royal Blue food colouring gel.
Tip: try to use food colouring gel as it is easier to control the amount that goes in, and it will not interfere with the consistency of the ice cream too much. The gel is also a more intense colour, so a little goes a long way.
Once everything is well combined, place the mixture into a freezer-proof container, seal well and place in the freezer for around 8 hours or overnight.
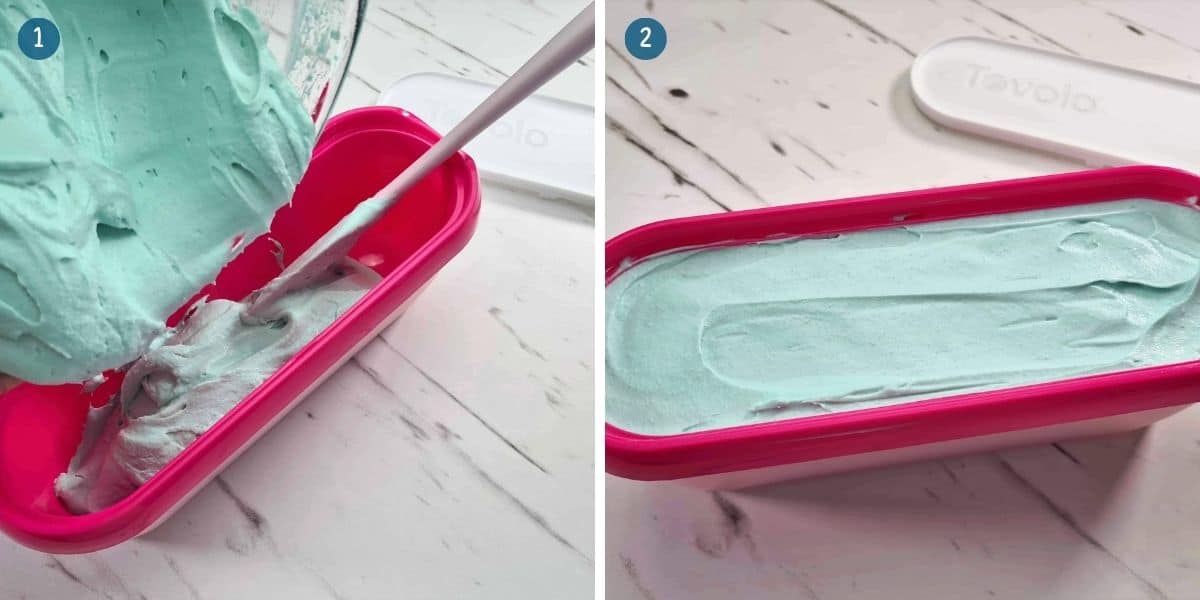
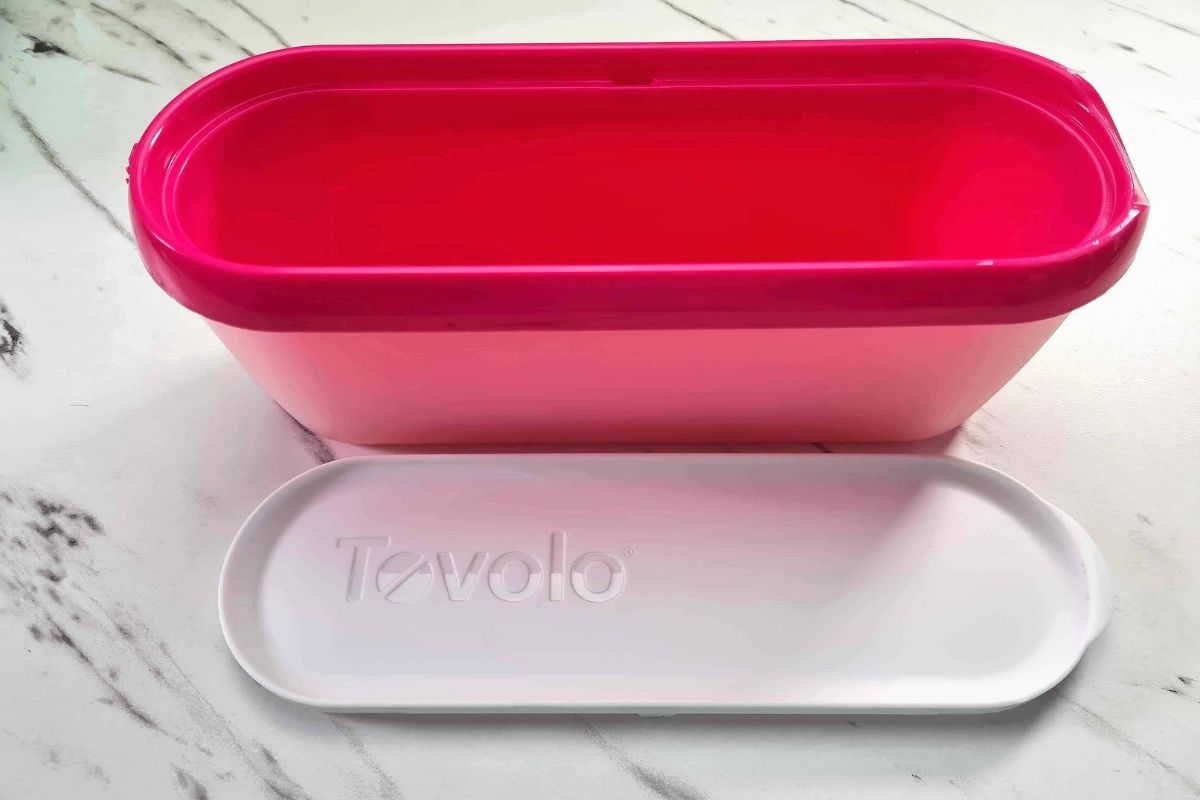
I’m using the Tovolo Glide-A-Scoop Ice Cream Tub, which I have found to be best for not only storing the ice cream but for easy scooping. It also holds the 1-litre amount that this recipe makes perfectly.
If you want to use the Kitchen Aid Ice Cream Bowl, place the mixture into the bowl to churn before putting it in the container. However, this step is not required.
Pro Tip: Be sure to remove the container from the freezer at least a good 15 to 20 minutes before serving to make it easier to scoop.
Do you need to dissolve the jelly crystals?
Unlike when you make jelly, I found that there is no need to dissolve the jelly crystals in hot water before adding them to the ice cream mixture.
However, be sure to mix well when adding jelly crystals to the mixture.
Other Homemade Ice Cream Recipes on Just So Yum!
The best thing about making homemade ice cream is creating flavours that you can not buy at your local supermarket. Here are just some of our favourite ones.
- How to make Licorice Ice Cream at Home – perfect for licorice lovers.
- Super Easy Bubblegum Ice Cream Made at Home – goes well with licorice ice cream but is excellent to serve at children’s birthday parties.
- Homemade Spearmint Choc Chip Ice Cream for All Occasions – if you are not a mint person but like the subtle taste of spearmint, you will love this ice cream.
We’re an affiliate
We hope you love the products we recommend! Just so you know, we may collect a share of sales or other compensation from the links on this page. Thank you if you use our links, we really appreciate it!
No-Churn Blue Heaven Jelly Ice Cream
Equipment
- Hand Mixer or Stand Mixer
Ingredients
- 600 ml Thickened or Whipping Cream
- 395 g Condensed Milk
- 2 tsp Vanilla Extract
- 85 g Jelly Crystals
- 3 drops Food Colouring Gel
Instructions
- Add cream, condensed milk, vanilla extract and the jelly crystals into a mixing bowl, then mix well.
- Add a few drops of food colouring gel to the mixture, then mix well. Add more if needed.
- Pour the mixture into the ice cream tub and place in the freezer to set for at least 8 hours or until firm enough to scoop.
- Remove from the freezer 15 to 20 minutes before serving for easy scooping.