Simple Weber Q Pizza Dough Recipe
No matter how you plan to cook this, our Weber Q Pizza Dough Recipe is the only dough recipe you will need. And it is super simple to make.
Almost everyone loves pizza, and nothing beats a home-cooked one, especially when the frozen or pizzeria ones don’t have the toppings you love.
And I, for one, love the fact that we can sit in our outdoor area, cooking pizza’s on the weber q while entertaining.
But a pizza is not just the toppings; it’s a good dough recipe. And knowing how to make it correctly, so you get a fantastic base every time.
What ingredients you need for the Weber Q Pizza Dough Recipe.
It may seem overwhelming at first, but I assure you it is super easy.
To make this, all you need is:
- Plain flour or all-purpose flour
- Instant dried yeast
- Salt
- Sugar
- Oil
- Warm Water

Step by step method to make the weber q pizza dough recipe.
In a large bowl, sift the flour. Then add the instant dried yeast, salt, and sugar.
Make sure that the yeast and the salt are placed on opposite sides of the bowl.

You might be thinking, why do I need to keep salt and yeast separate. The answer to this is, when salt and yeast come into direct contact, the salt can kill the yeast.
The result will be that your dough will not rise.
I bet you’re scratching your head, thinking, but it all gets mixed in.
When you mix it through the flour, the salt and yeast get evenly distributed through the mix. And the flour acts as a protector between the salt and the yeast.
Next, add your oil. Then add the warm water a bit at a time and sightly mix after each addition. A good tip is to add about 75% of the water and add more if needed.
Adding the water a bit at a time allows you to add the right amount of water. You can always add, but not take away. But if you do add too much water, you can add a little more flour.
Mix your dough until it is just combined. You should still see streaks of flour through the dough.
Now it is time to knead it. You can do this by hand or with a stand mixer if you have a dough hook attachment.
Your dough is ready when it is smooth, stretchy, and does not stick to your hands.
If you are kneading in a bowl, a tip for knowing when to stop is a clean bowl.

Do not over-knead your dough. If you do, you will release too much of the flour’s gluten, which will result in the dough becoming weak and will tear when stretching it out.
Along with the dense base when baked, instead of light and fluffy.
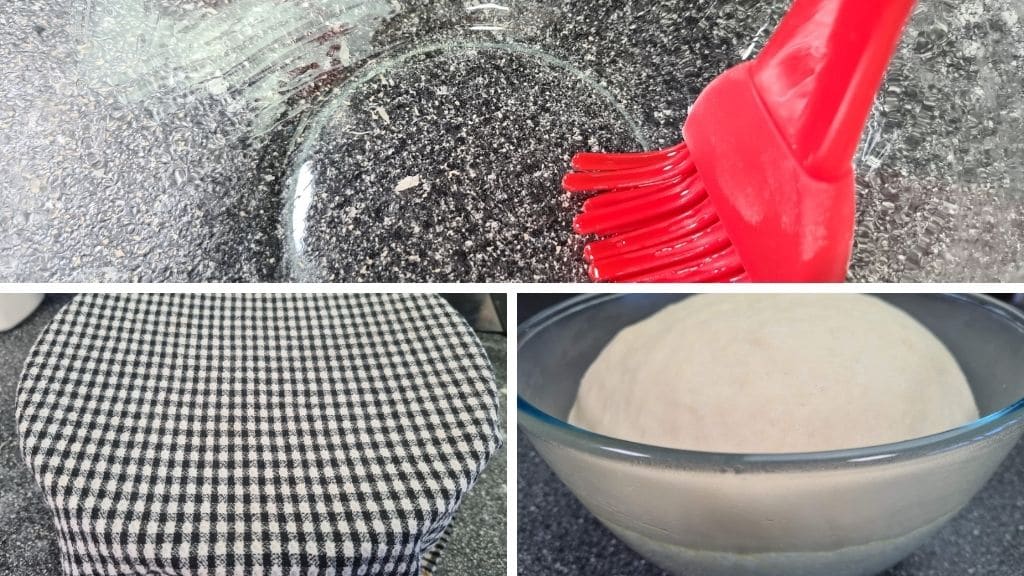
Lightly grease a bowl in olive oil. Place the dough in the bowl and cover with a damp tea towel or cling wrap. Then let it proof till it has doubled in size.
It can take between 30 minutes to an hour, depending on the temperature of the weather.
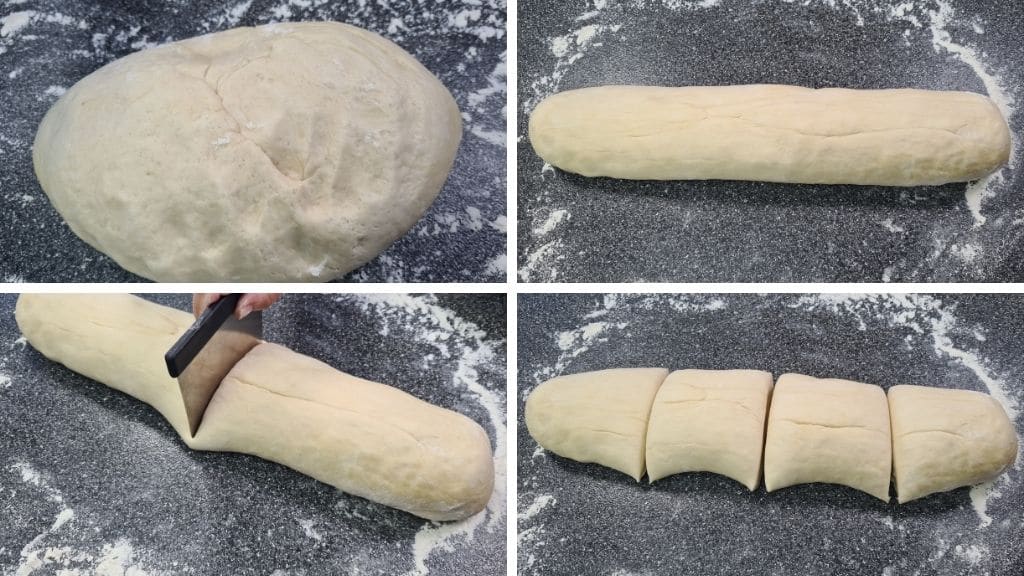
Once the dough has doubled in size, turn it out onto a lightly floured surface. Lightly knead it for about a minute and shape it into a log shape roll.
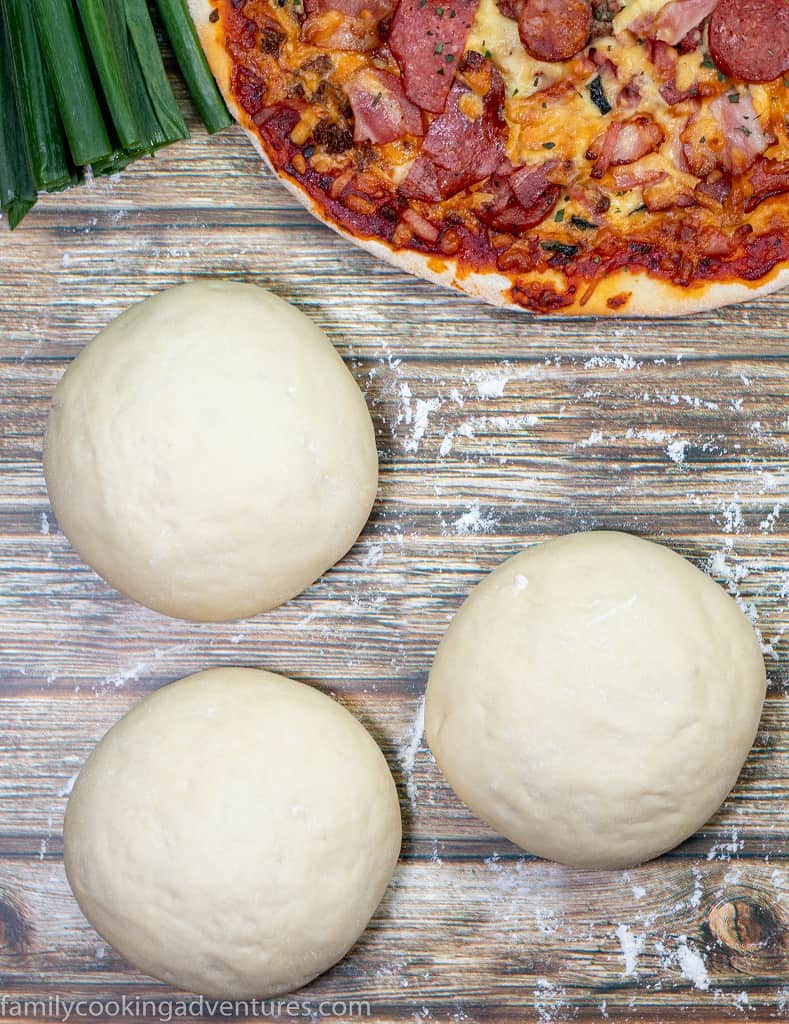
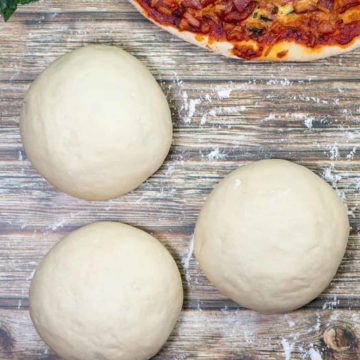
Using a large knife or a cake scraper, cut the dough into four equal parts.
Form a ball out of each portion by bringing the dough from the size underneath.
Forming a ball will help you to create a more rounded shape for the base.
Wrap the rest of the dough portions in cling wrap and place them in the refrigerator. The cold will stop the yeast from growing more.
How to form the pizza base.
With the dough in a ball, flatten slightly using your fingers. Then use a lightly floured rolling pin and roll out the dough.
Pick up the dough and, making a slight fist, place the dough over the top of your hand. Create a slight fist with your other hand and slowly work your fists around the edge of the dough, using your knuckles.
It will help to stretch and shape your pizza dough to the size you need it.

Then place the dough on a pizza tray. And using the tips of your fingers, gently continue to stretch out the dough till it reaches the edge of your tray.
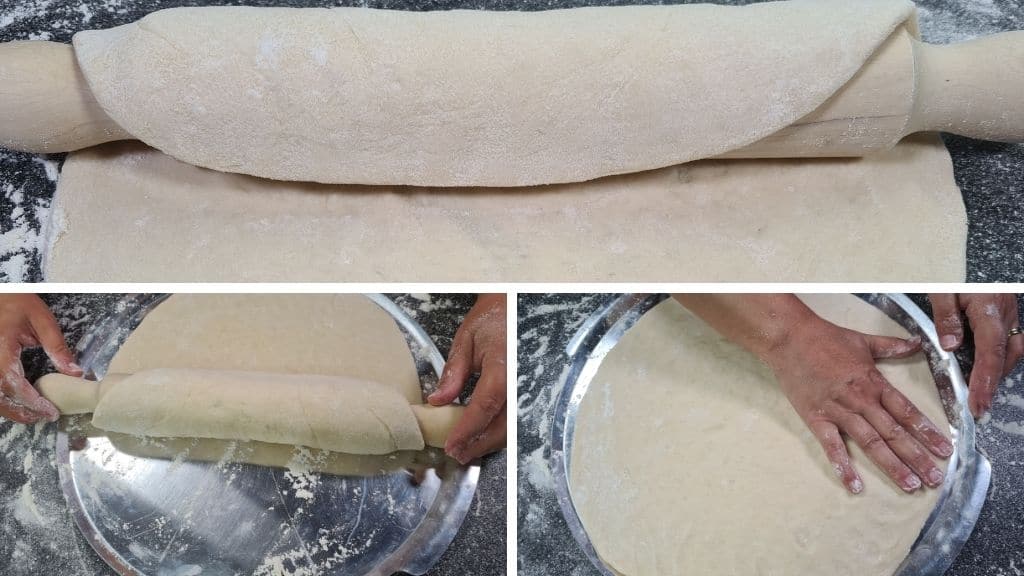
An easy way to transfer your dough base to your tray is to lightly flour your rolling pin. Then starting from the edge of the dough, lightly wrap it around your rolling pin.
Then place the dough on the tray and slowly unroll it.
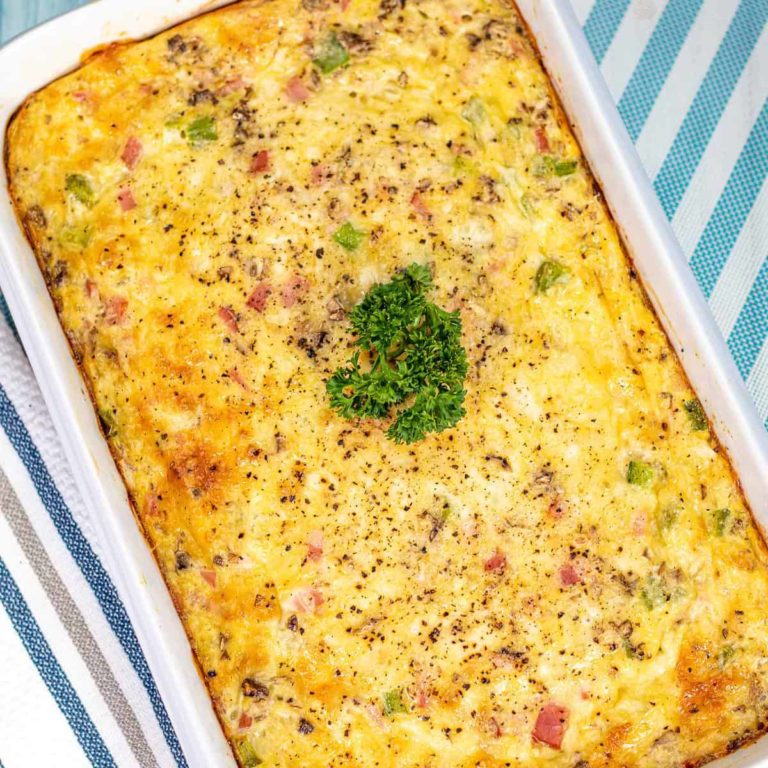
Then top with your favorite toppings.
To bake this in a Weber Q, you can follow my husband’s Weber Q Pizza recipe.
Why do should you use warm water in pizza dough.
The warm water helps the yeast to do its job. For the yeast to work, having the dough warm will help during the proofing stage as yeast reacts to warmth by producing gases that cause your dough to rise.
If you use cold water, it will cause the gluten in the yeast to leak out, resulting in a sticky dough. And you will need to throw out the dough and start again.
Why should you cover the dough?
Coving your dough with a damp tea towel or cling wrap will stop your dough from drying out.
Cling wrap traps the moister, and you will see condensation on the top. Condensation will not happen with a tea towel, so to keep the dough from drying out, you need to wet the tea towel and wring out the water so that it is just wet, not dripping.
The dampness of the tea towel will prevent the dough from drying.
How to store unused pizza dough
One of the best things about pizza dough is that you can make it well ahead of time and store it in the fridge or freezer for future use.
When I make my dough, I like to make quite a few, so I do not need to do these for a while.
It also helps when you have a husband that suddenly feels like pizza at the last minute.
To store the dough, tightly wrap each portion in cling wrap and store in an airtight container in your refrigerator for two weeks or in your freezer for three months.
In the fridge, I keep them in a large container as it is easier to stack. But in my freezer, a container might not always fit. So I place the cling-wrapped potion into a ziplock bag and place it in the freezer.

The dough, when portioned, does not take long to thaw. Ensure you place it in the refrigerator once it has thawed until you are ready to use it.
Then let the dough reach room temp when you are ready to roll it out.
Other Weber Q recipes we love:
If you are a fan of cooking on your weber q or just brought one and need some ideas of what to cook and how to do it, here are some great recipes for you to try.
Some other great recipes for entertaining:
Weber Q Pizza Dough Recipe
Ingredients
- 1 kg Plain Flour
- 2 tsp Instant Dried Yeast
- 1 tsp salt
- 1 tbsp sugar
- 4 tbsp olive oil
- 650 ml warm water
Instructions
- Sift the flour into a large mixing bowl or the bowl of your stand mixer.
- Add the instant dried yeast, salt, and sugar. Making sure the yeast and salt are on opposite sides of the bowl. Then mix to combine.
- Add the oil and warm water, and mix till just combined.
- Kneed your dough until the bowl is clean. Your dough should be smooth and not stick to your hands.
- Lightly coat another large bowl in olive oil and place the ball of dough in the bowl. Cover with a damp tea towel and leave to proof for 30 minutes to an hour. Your dough should double in size.
- Turn the dough onto a lightly floured surface and create a roll shape by rolling the dough back and forth.
- Using a knife or cake scraper, cut the dough into 4 equal parts. Then create a ball out of each piece.
- Then roll each ball out to fit a 30 cm pizza tray, using a lightly floured rolling pin.
- Add desired toppings and bake according to our weber q's pizza recipe.