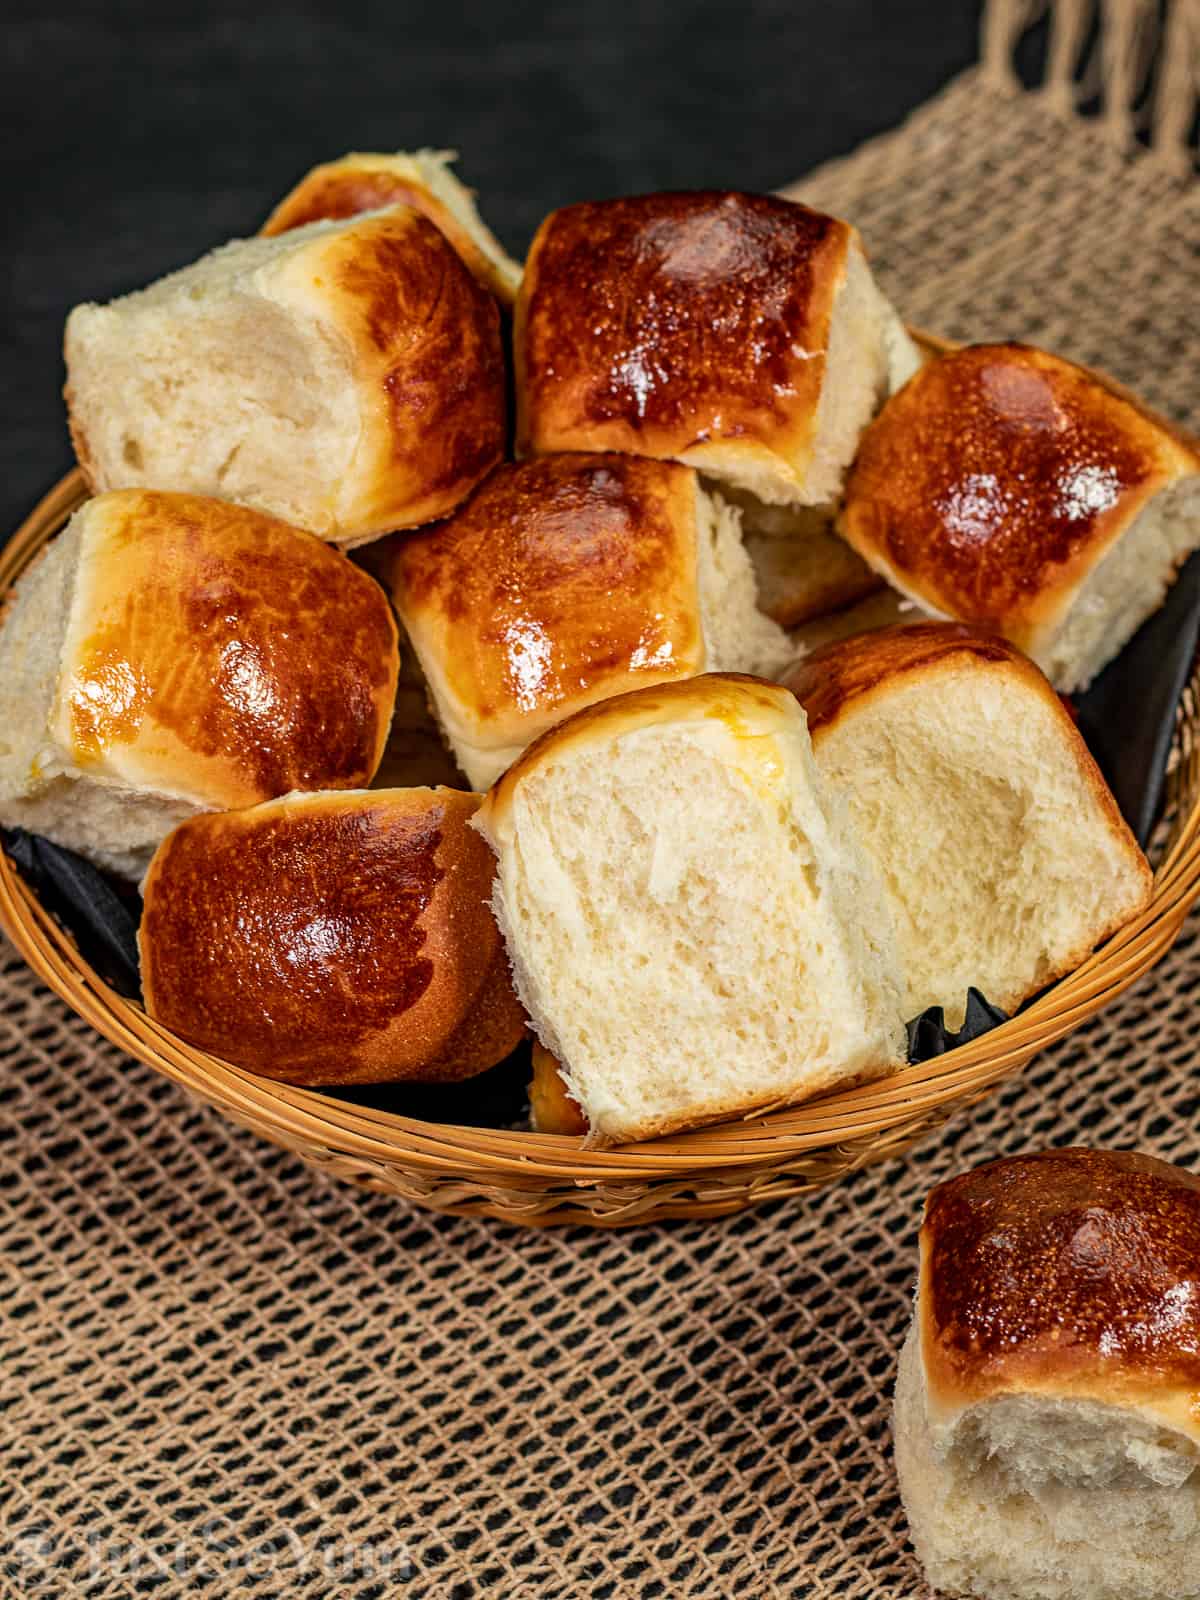
Perfectly Soft Homemade Mini Dinner Rolls

Soft, fluffy, and the perfect addition to the dinner table. These Perfectly Soft Homemade Mini Dinner Rolls are also great to have while entertaining.
Oh, and when hot, just add butter and watch it melt…yummy!
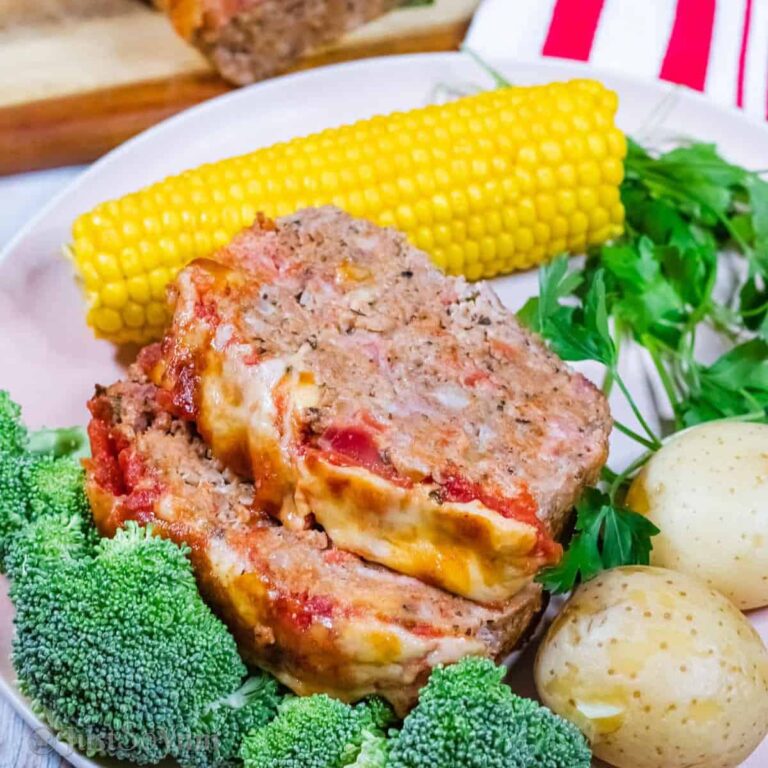
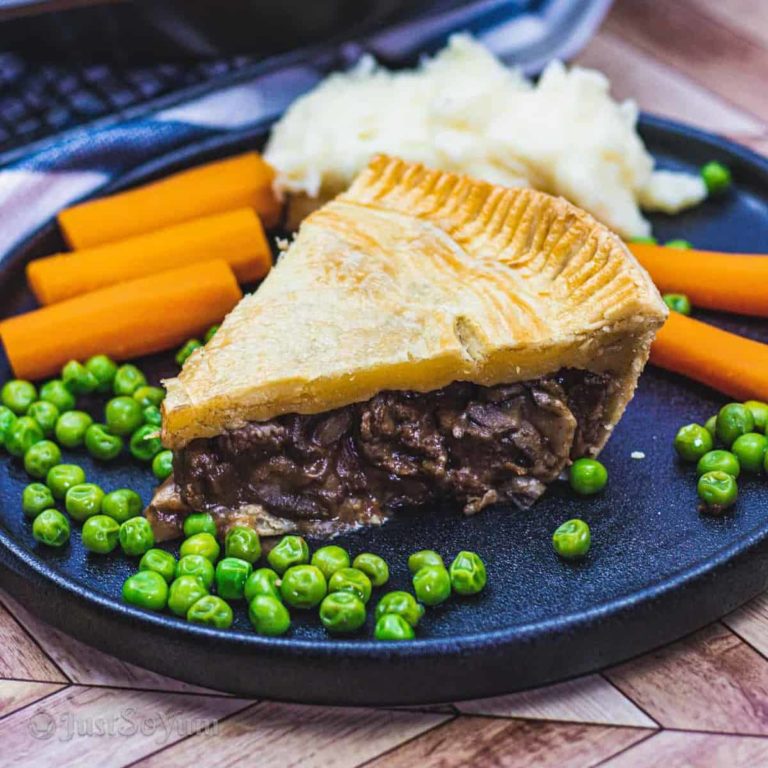
When serving a roast, stew or even a pasta meal, these perfectly soft homemade mini dinner rolls are great for soaking up the excess gravy and pasta sauce. Or even for dunking in your stew or soup.
I also find at Christmas get-togethers they are fantastic to have out on the table for guests to eat just on their own before tucking into the main course.
But you might want to make a few batches as they go quick.
How to make Perfectly Soft Homemade Mini Dinner Rolls
These are super easy to make. I use a stand mixer for kneading my dough, but you can use a hand mixer if you have the dough hook attachments or by hand.
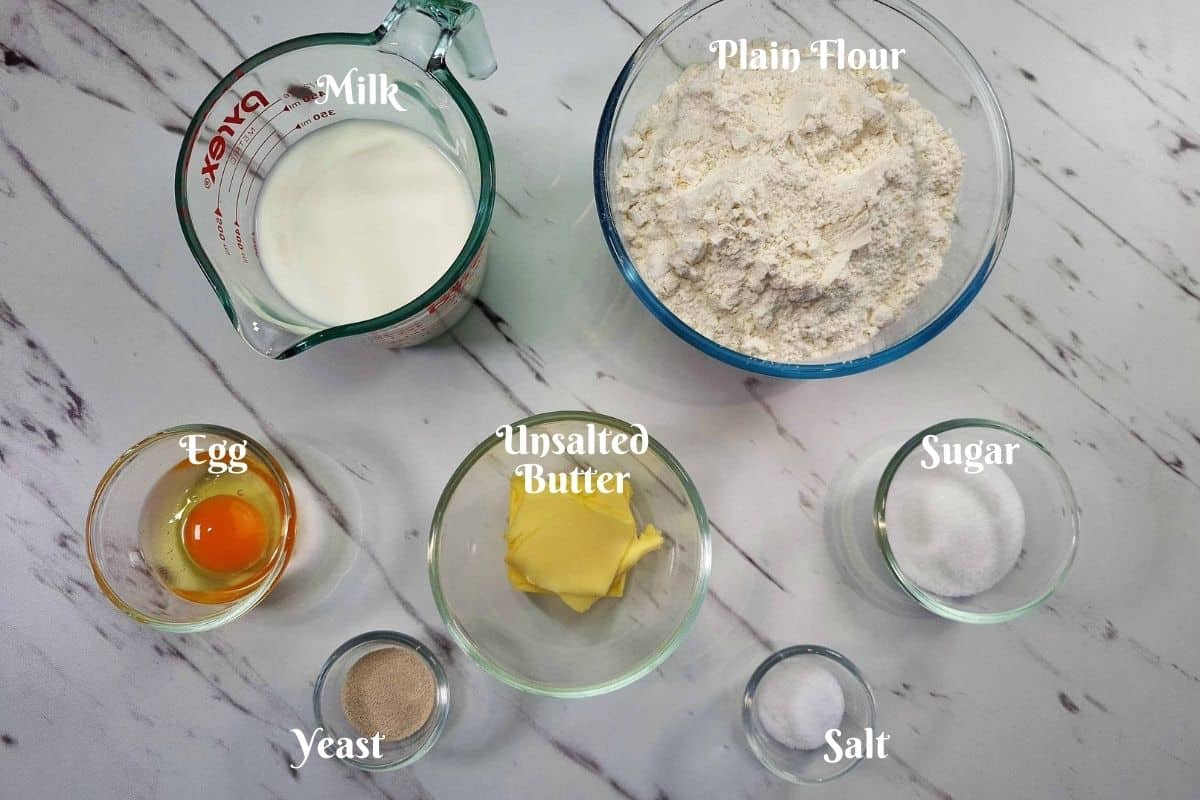
Ingredients
- Milk
- Dried Yeast
- Sugar
- Unsalted Butter
- Plain Flour
- Salt
- Egg
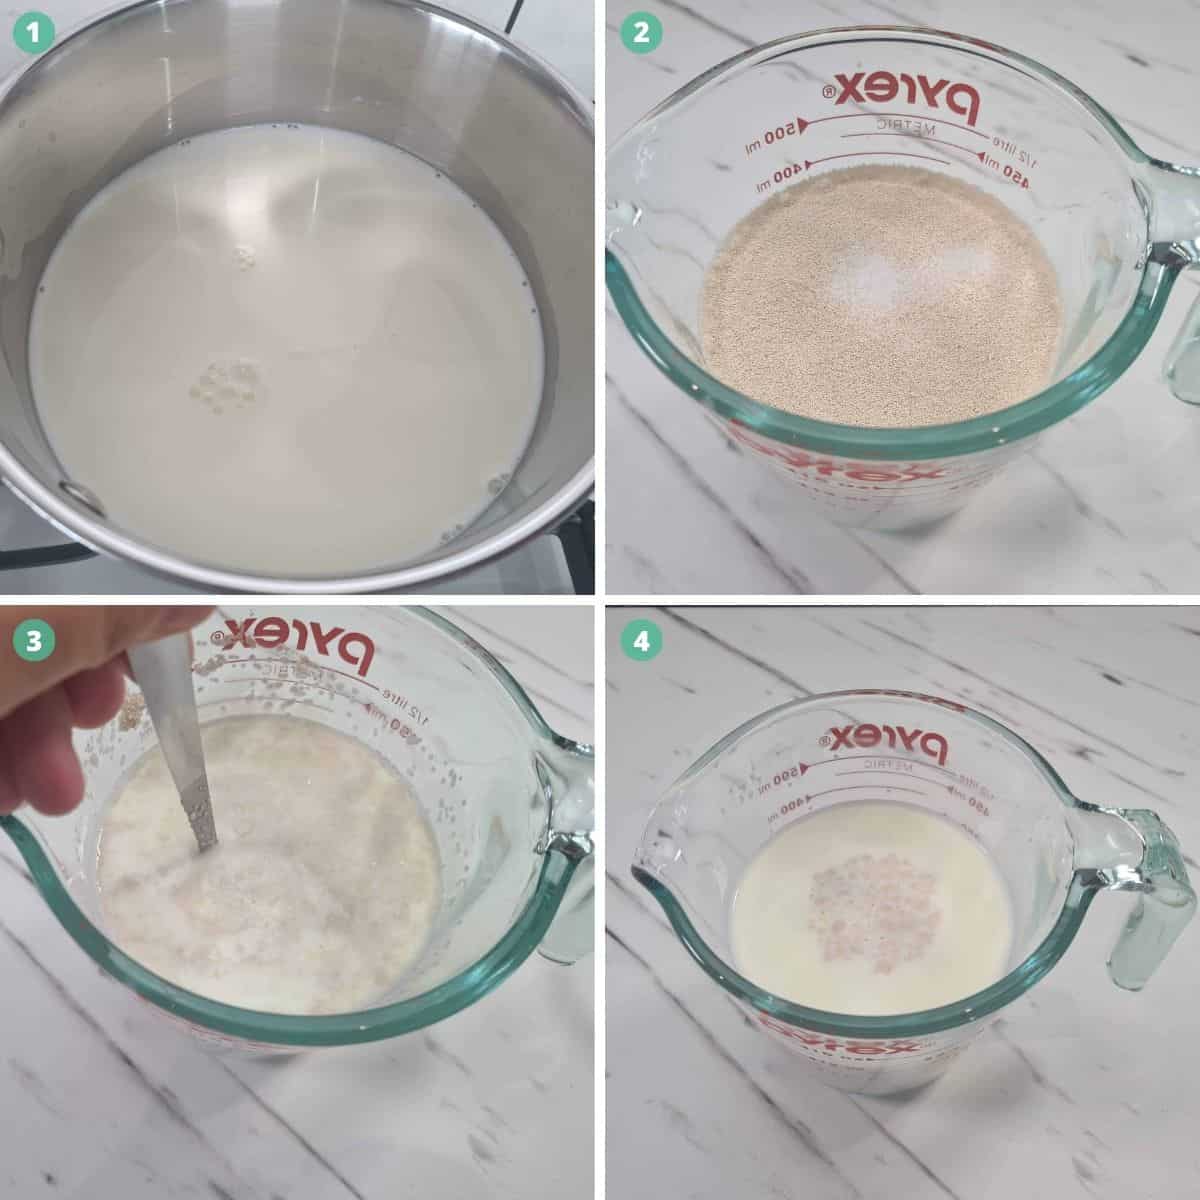
Add the milk and heat over low heat until lukewarm in a small saucepan.
Remove it from the heat once the milk is warm and add to a heatproof bowl or jug. Sprinkle the yeast over the top, add a pinch of sugar, then mix well.
Note: You want the milk lukewarm, not hot. If too hot, set aside to cool slightly before adding the yeast. If the milk is too hot, the yeast will not activate.
Note: Alternatively, you can melt the butter and milk together and use the instant dried yeast instead.
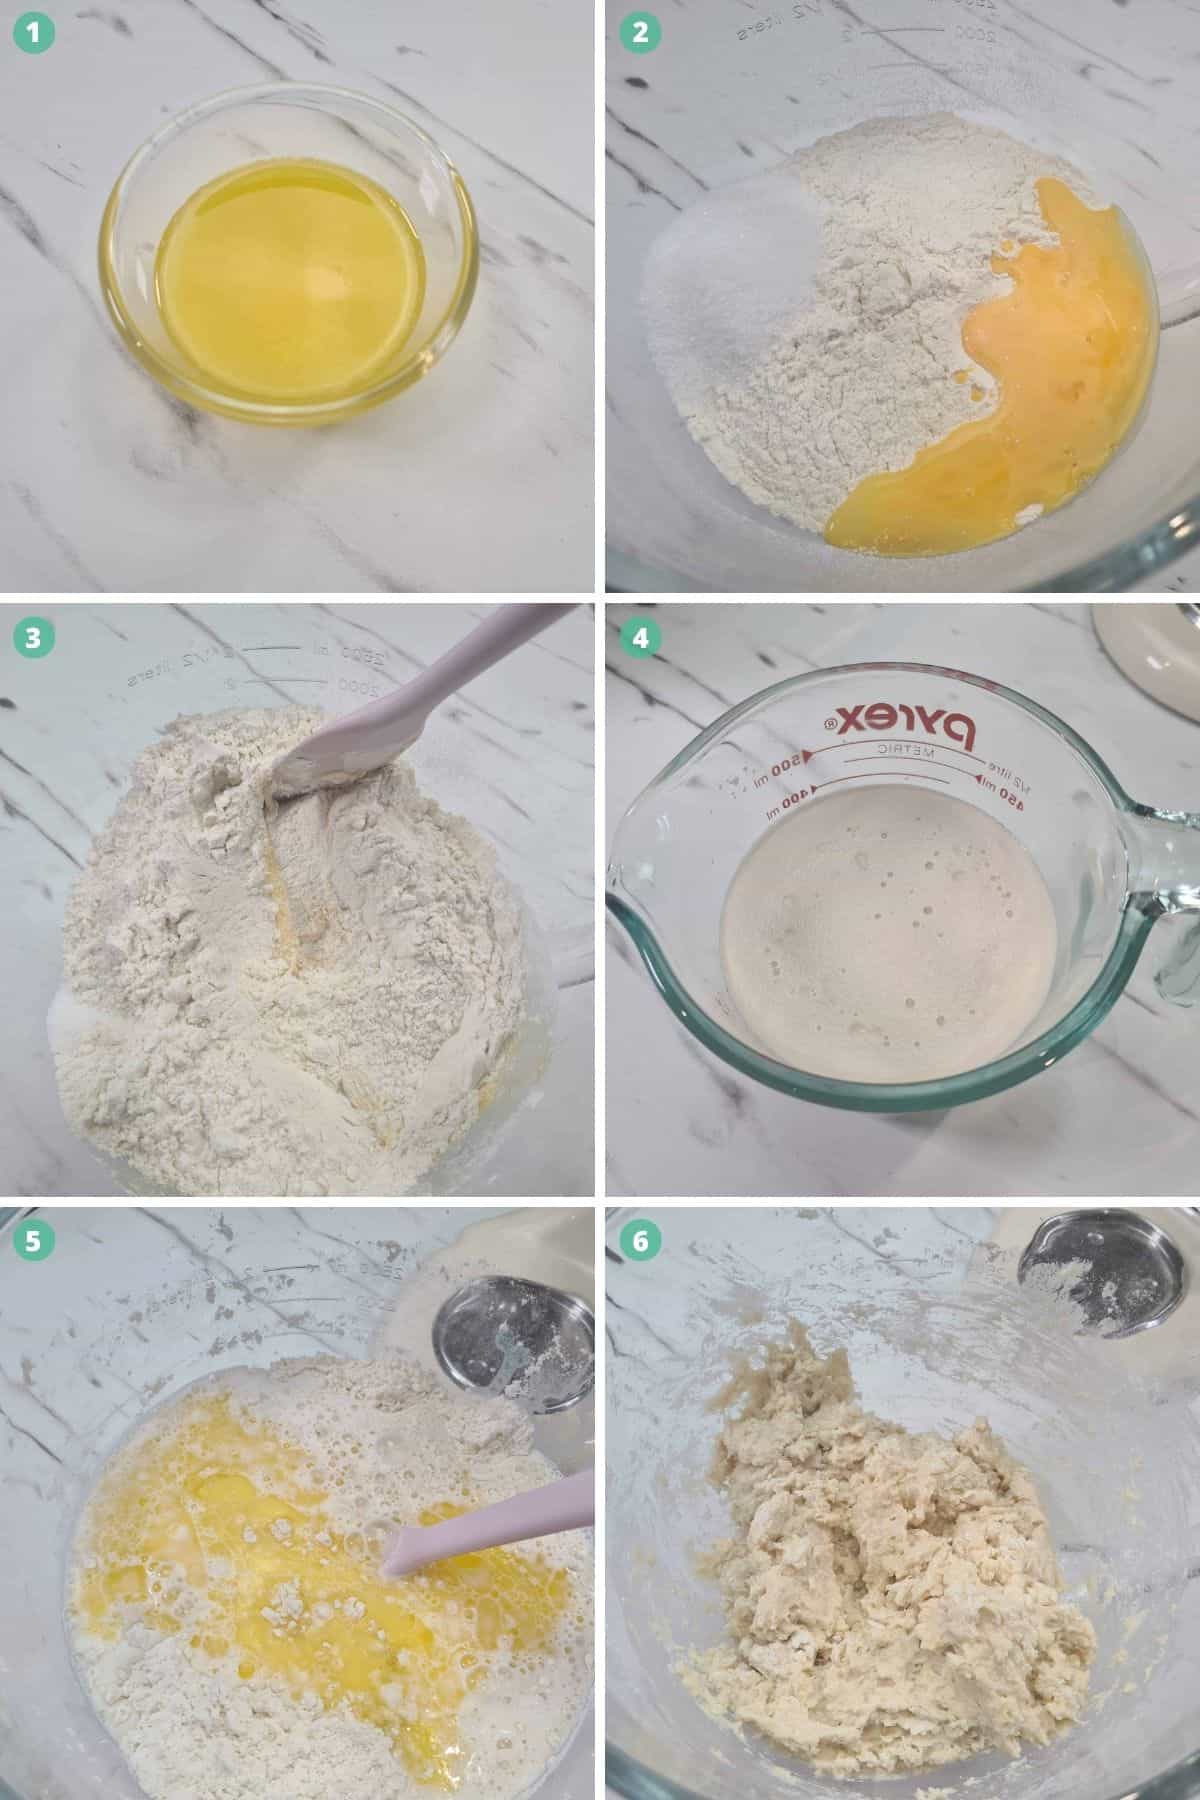
While waiting for the yeast to activate, melt your butter, then set aside until needed.
Add sifted flour, salt, the rest of the sugar and whisked egg in a large mixing bowl. Mix with a spoon or stand mixer paddle attachment (on low speed) till combined.
After about 5 minutes, the foam will start to form on the top of your milk; this lets you know that the yeast has activated (or bloomed).
Once the yeast is activated, add it to the mixture to the mixing bowl. Then the melted butter. Then mix through with a spoon or paddle attachment at a low speed until just combined, and then it’s time to knead your dough.
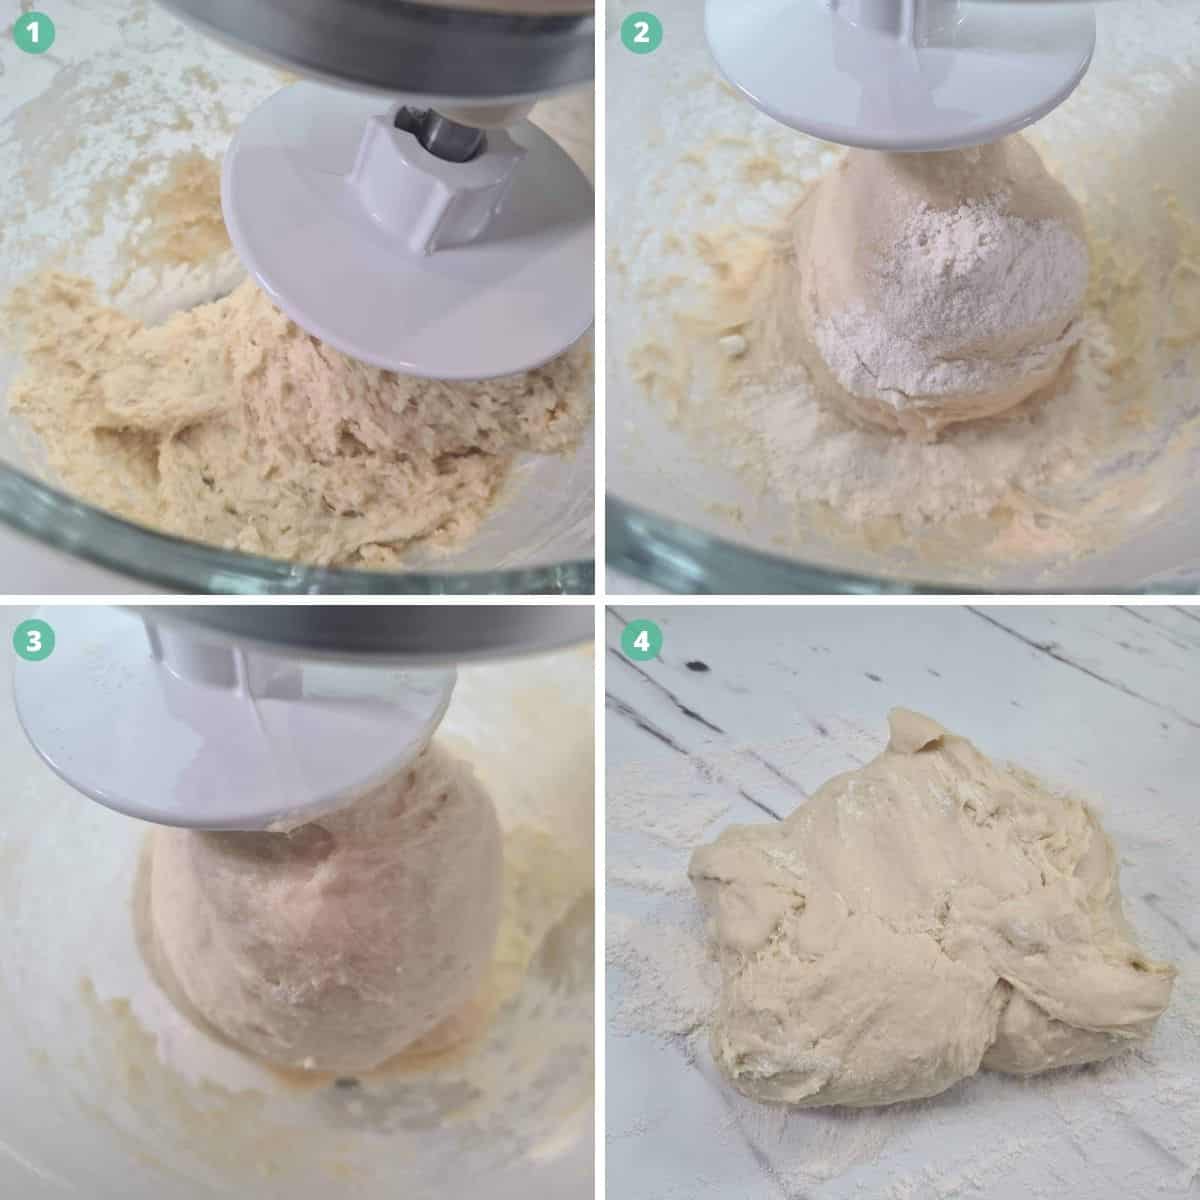
If you are using a hand mixer and stand mixer to do this, knead at a medium-low speed until the dough no longer sticks to the side of your mixing bowl. This will take around 8 to 10 minutes.
If you find the dough is still too sticky, add small amounts of flour to the bowl until it has reached the correct consistency.
The dough is meant to be slightly sticky but should not stick to your hands or the side of your bowl.
If you struggle to get the correct consistency, you can lightly flour your benchtop. Turn the dough onto the bench, and continue kneading.
Tip: To avoid over kneading the dough. You can let the dough hook combine it all for about 5 minutes and then do the rest by hand.
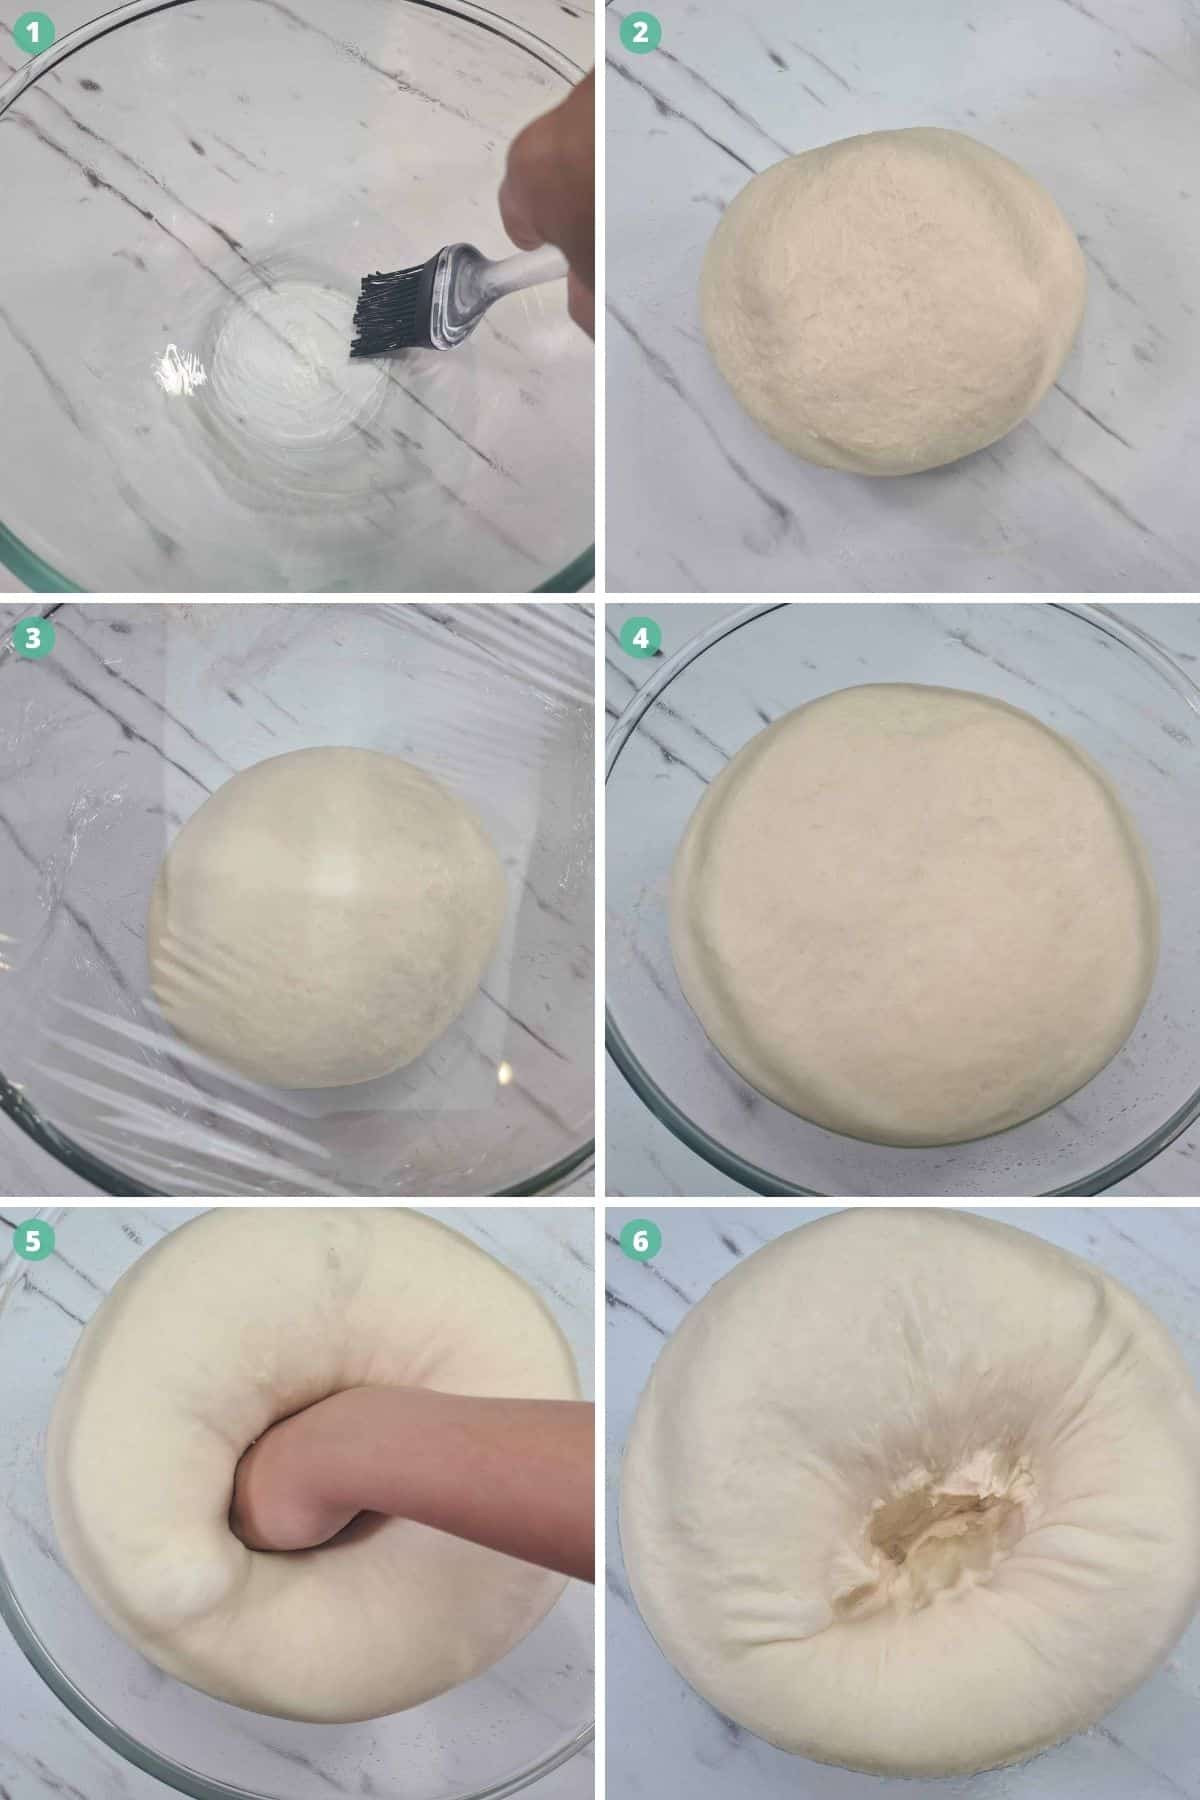
Once the dough is kneaded, create a ball and place it in a bowl lightly coated on olive oil, cover with glad wrap.
Then prove for one hour or until the dough has doubled in size.
Once the dough has doubled in size, it’s time to punch the dough.
My daughter Angel loves doing this part.
Punching the dough is a technique to remove excess air from the dough. To do this, you create a fist and slowly press your fist down into the centre of the dough till you touch the bottom of the bowl.
Lightly coat a 20cm by 20cm square baking pan with olive oil. This makes for easy removal after baking the mini dinner rolls.
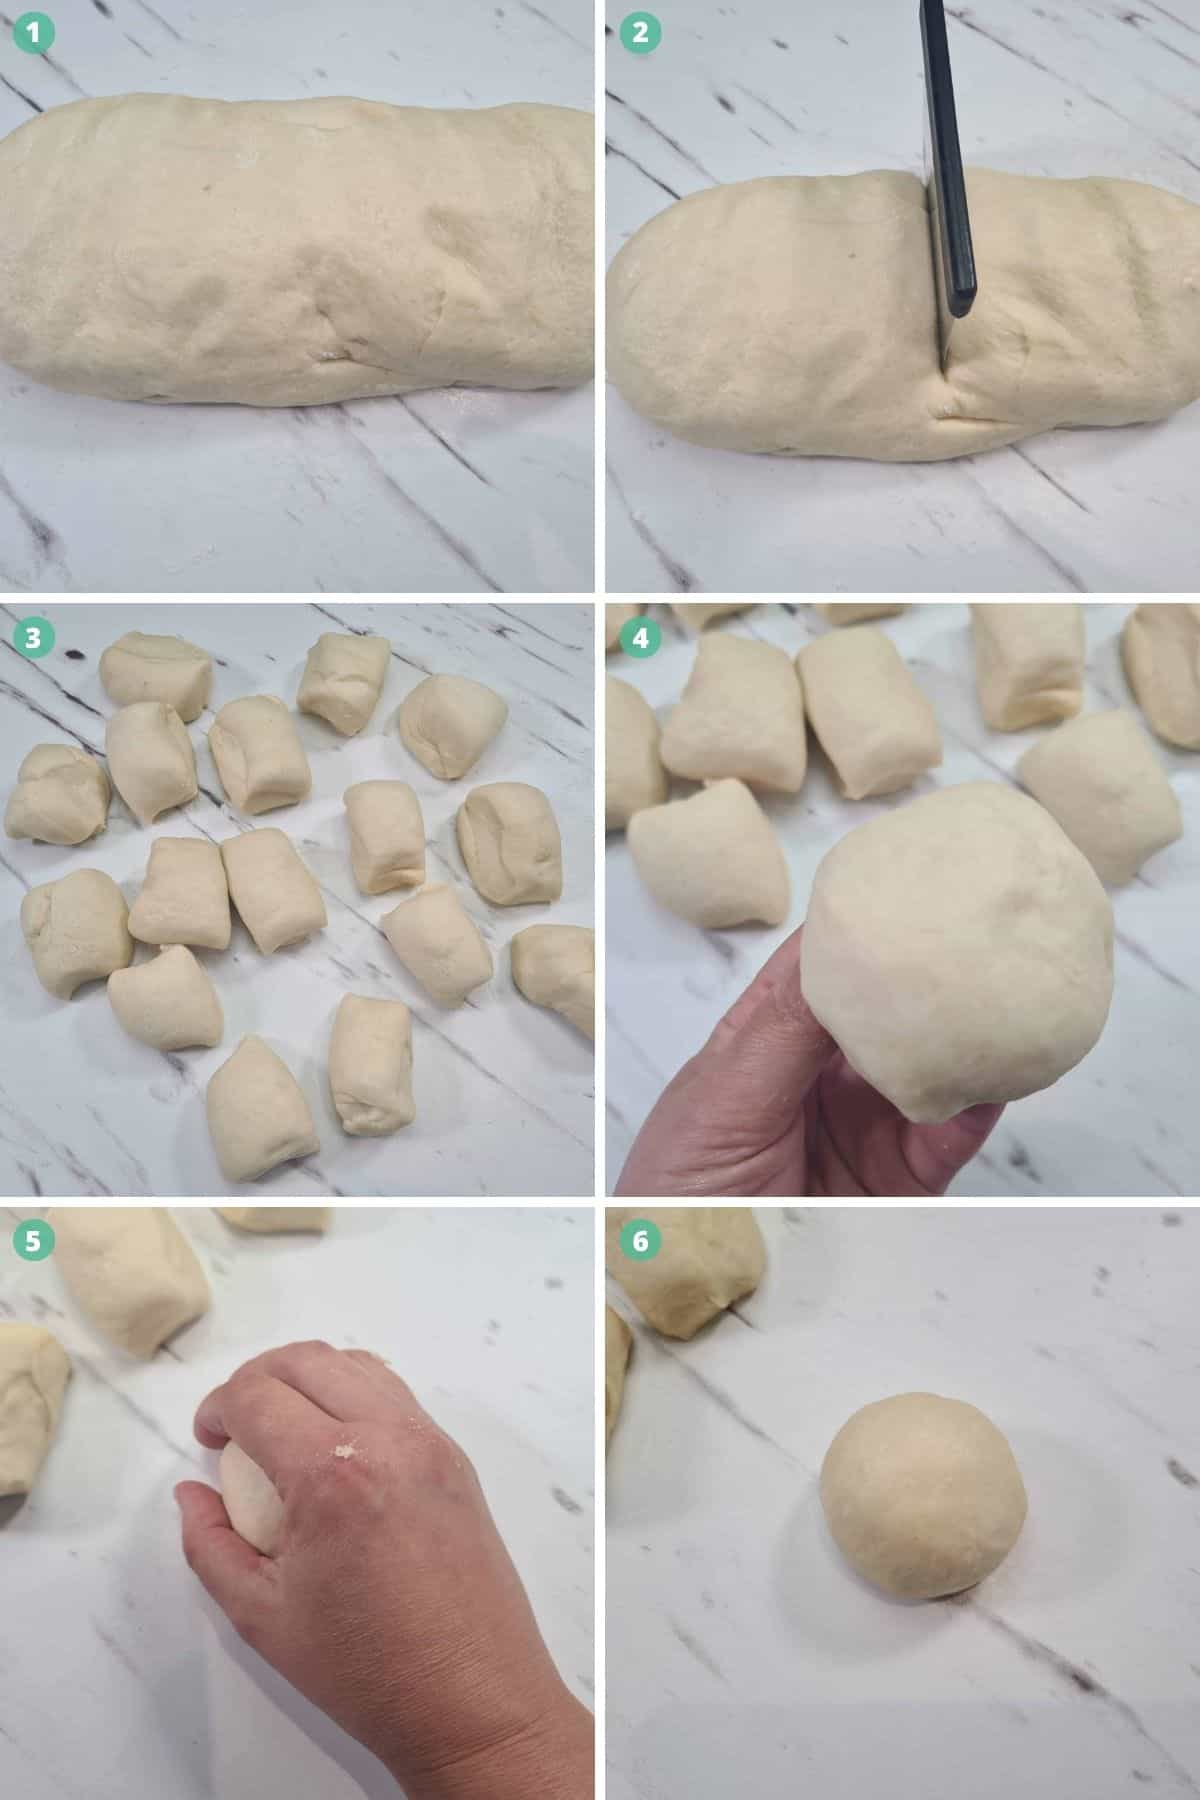
Then place the dough onto a lightly floured bench.
Make a rectangle shape out of the dough and cut in half, then cut each piece in half, and then in half again until you have 8 pieces from each side. Giving you a total of 16 all up.
Try to create them as equal in size as possible.
To cut, use a large sharp knife or dough cutter. Do not tear the dough.
With each piece of dough, fold the sides underneath, then place it on the bench. Cup your hand over the dough a roll until the dough is a smooth ball shape.
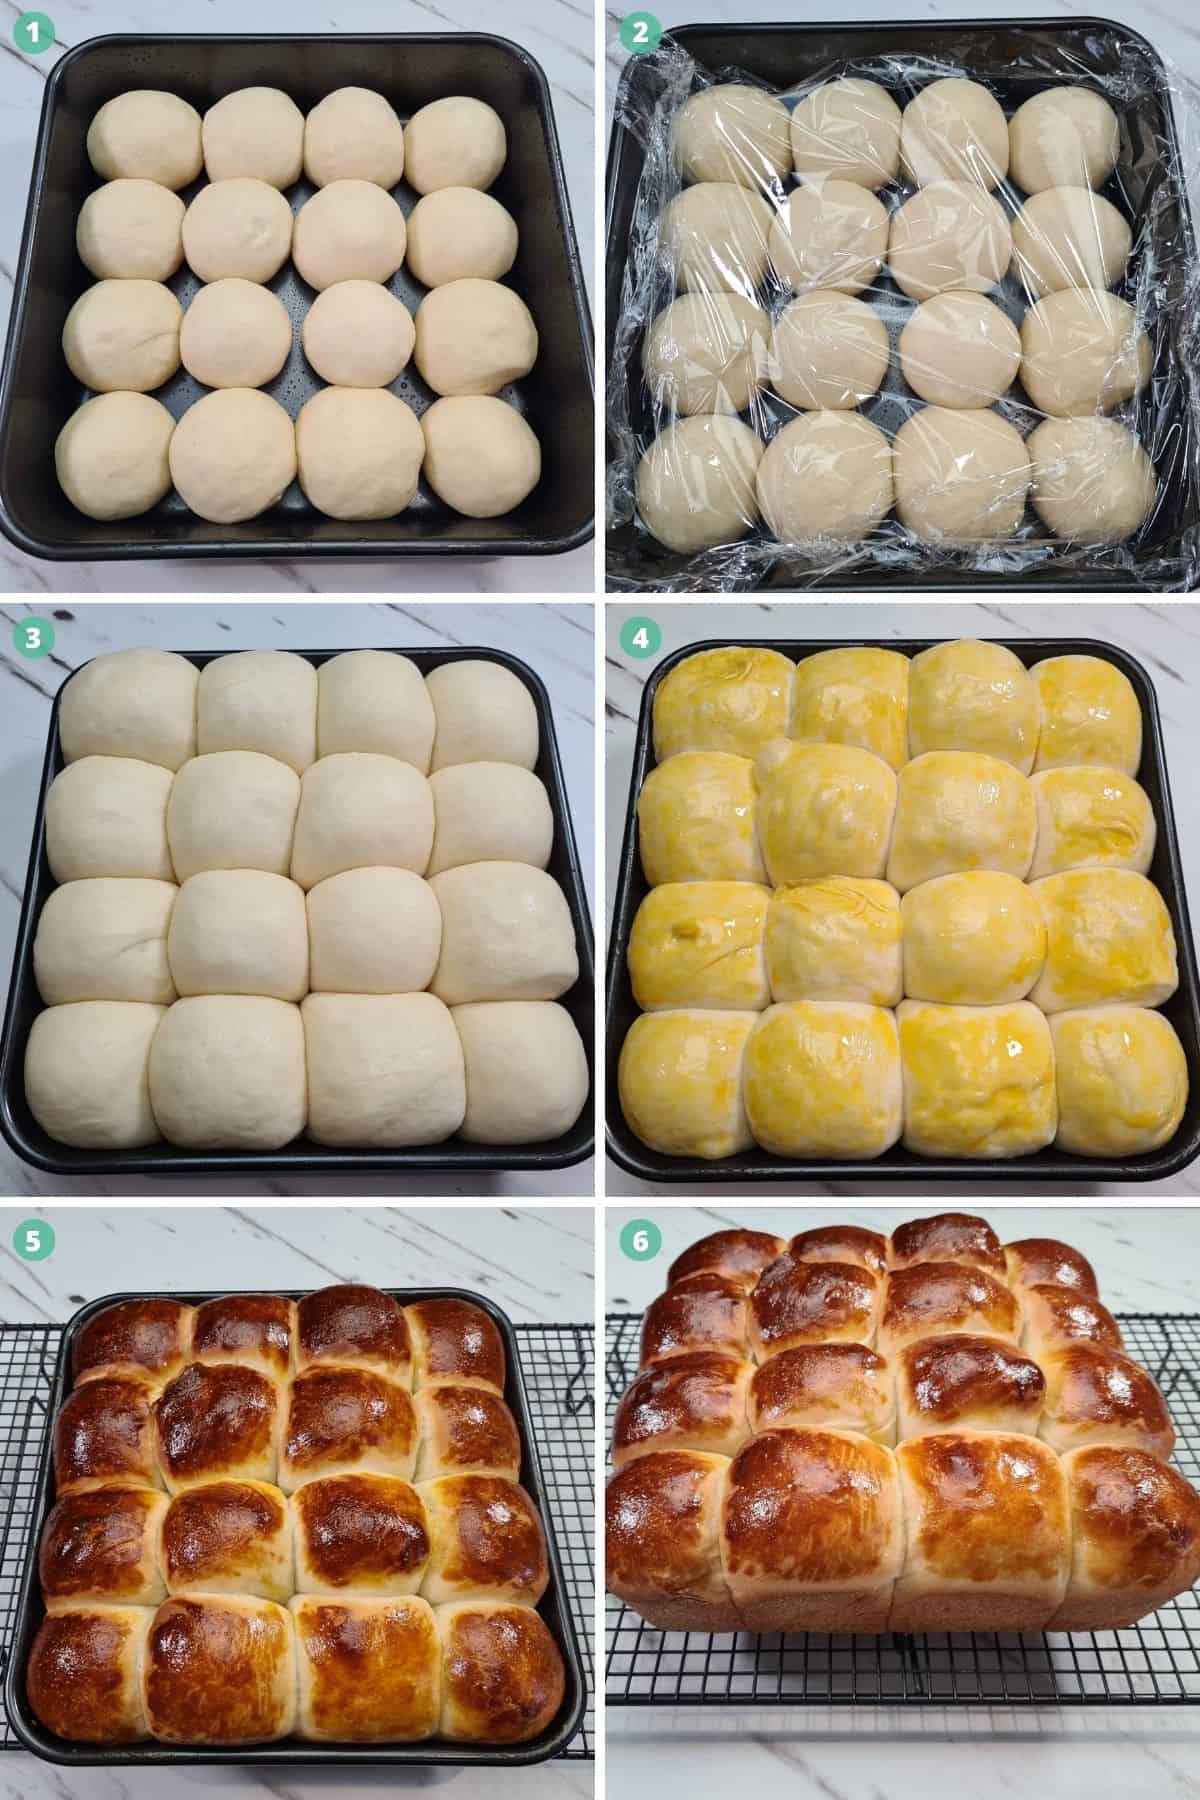
Place the dough balls in the tin and loosely cover with glad wrap. Allow the dough to prove for another hour or until doubled in size.
Remove the glad wrap, baste the top of the rolls with egg yolk, egg wash (egg yolk and milk) or milk depending on the type of brown you would like.
- egg yolk – dark golden brown
- egg wash – golden brown
- milk – light golden brown
Then place in a preheated oven of 200°C for 20 minutes. If you use a non-fan-forced oven, the temperature needs to be 220°C.
Once cooked, remove the rolls from the oven and allow them to cool in the tin for 5 minutes, then remove from the baking tin and place on a cooling rack.
Serve while still warm or once cooled down.
How to prove your dough in cold weather
We all don’t want to wait for the warmer weather to make anything that requires you to prove dough.
So here is a couple of tips that you can try if you don’t have anything to prove your dough in, such as a proving draw in your kitchen.
- Microwave – place a cold, damp cloth in your microwave. Have your setting on high and heat the cloth for 1 minute. Once warmed, place your covered dough in the microwave for the required proving time. (Leave the cloth in there as well)
- Preheat your oven at the 150°C setting for 5 to 10 minutes, turn off and place covered dough in the warm oven for the required time.
Other side dishes on Just So Yum!
Whether it’s just for the family or entertaining, here are some of the other side options we have.
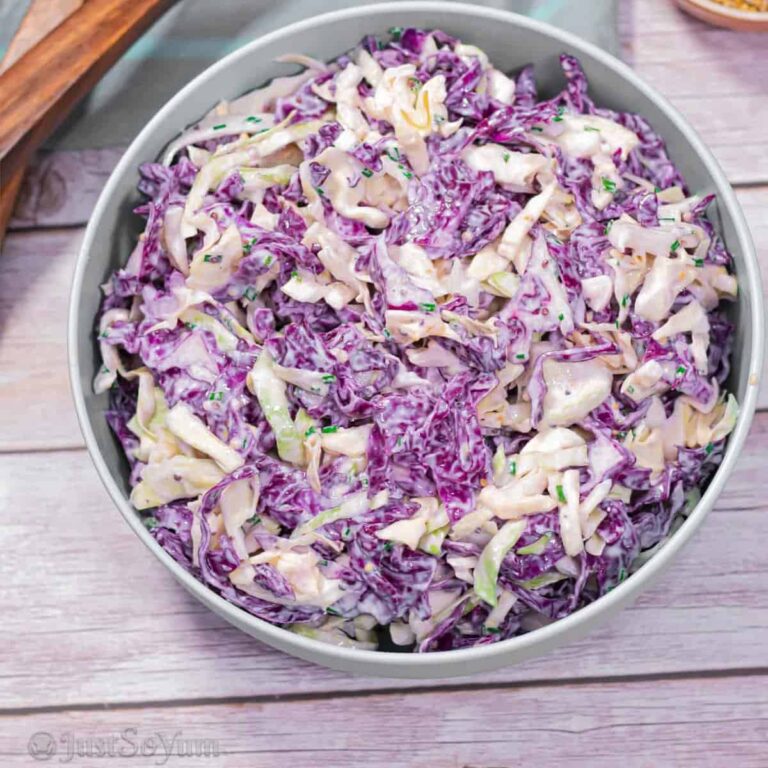
Simple Homemade Potato Salad with Egg and Bacon: Always a favourite, to serve with any meal, especially at BBQ’s
Chicken and Bacon Caesar Salad with Homemade Caesar Dressing: Super easy to make, topped off with an easy caesar salad dressing to complete it.
Super Crunchy Weber Q Roast Potatoes: Soft and fluffy inside, with the perfect crunchy outside. Whether you make them at home or when camping, there is never a wrong time to have roast spuds.
Perfectly Soft Homemade Mini Dinner Rolls

Ingredients
- 1 ⅓ cup Milk
- 2 g Dried Yeast
- ¼ cup Sugar
- 60 g Unsalted Butter Softened
- 500 g Plain Flour extra if needed
- 1 ½ tsp Salt
- 1 Large Egg Room Temperature
Instructions
- Warm the milk over low heat on the stove or in the microwave. Make sure it is only lukewarm.
- Add warmed milk to a heatproof jug, sprinkle yeast over the top, add a pinch of sugar and mix.
- Allow approx 5 minutes for the yeast to activate.
- Melt the butter and set it aside.
- In the large mixing bowl or bowl from your stand mixer, add sifted flour, rest of the sugar, salt and whisked egg.
- Mixed together with a spoon, then knead with a dough hook (on medium-low speed) or by hand until the dough no longer sticks to the bowl or your hands. This will take about 8 to 10 minutes.
- Create a ball out of the dough and place it in a greased bowl. Cover with glad wrap and prove for 1 hour or until doubled in size.
- Once proved, push the dough to release excess air. Then place the dough onto a lightly floured surface.
- Create a roll and cut it into 16 equal pieces.
- Create a small ball out of each piece and place them into a greased 20cm square baking dish.
- Cover loosely with glad wrap and prove for 1 hour or until doubled in size.
- Baste the top of the rolls and place in a preheated oven of 200°C for 20 minutes or until brown on top.
- Remove the cooked rolls from the oven and allow them to cool in the tin for 5 minutes. Remove the rolls from the tin and allow them to cool further on a cooling rack or serve while still warm.