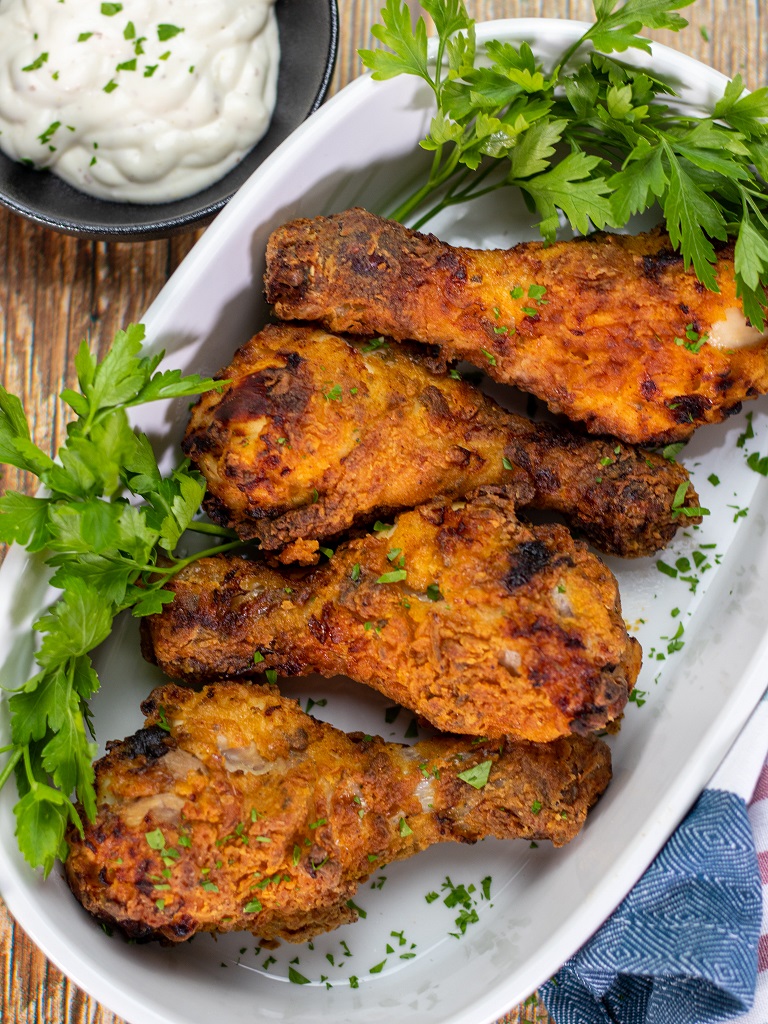
Super Juicy Air Fryer Marinated Chicken Drumsticks
Looking for a delicious and easy dinner idea? Check out my air fryer marinated chicken drumsticks recipe! With a crispy exterior and juicy centre, it’s always a hit with my family. Plus, I’ll let you in on my secret marinade that I’ve perfected over the years. Yum!
I recently switched from deep frying to air frying, and I’m never going back. My Phillips XXL air fryer makes my chicken juicier and crispier than ever before, and it’s a healthier alternative too!
My air fryer marinated chicken drumsticks recipe is a favourite in my family, and my kids even take leftovers to school. Though it takes some preparation, it’s worth it for the delicious and healthy results. Give air frying a try – you won’t regret it!
Why Do You Brine Chicken Before Frying?
I believe this process is essential when air or deep frying anything with chicken.
And if you don’t mind going the extra mile, I’ve got a game-changing tip for you: brining. This process is essential for locking in moisture and ensuring your chicken turns out juicy and tender every time.
There are two methods for brining: salt water and buttermilk. Personally, I prefer the buttermilk method, so that’s what I’ll be sharing with you today!
Let me break it down for you: when you cook chicken at high temperatures, the proteins in the meat contract and expel moisture, leaving you with dry, tough chicken.
Not what we want! By brining your chicken in buttermilk beforehand, the muscle fibers will actually loosen instead of tightening, which locks in moisture and tenderizes the meat.
So, to get started, you’ll need at least 600mls of buttermilk for 6-8 chicken drumsticks. Trust me, the extra time and effort is worth it for perfectly juicy and delicious chicken every time.
Herbs We Will Be Using In My Air Fryer Marinated Chicken Drumsticks Recipe
I’m a big believer in the power of herbs to take any dish to the next level. There’s just something about experimenting with different combinations of herbs and spices that can create truly magical flavors.
But let’s be real – getting the right mix of herbs can be the difference between a dish that’s just okay and one that’s truly amazing.
In fact, when I was creating this recipe, I cooked it so many times that I drove my poor wife crazy. But I was determined to get it just right, and she was the one who had to clean up after me (sorry, hun!).
Trust me, the extra effort to find the perfect combination of herbs is always worth it in the end. Your taste buds – and anyone you’re cooking for – will thank you!
The herbs I’m using are:
- Paprika
- Parsely
- Thyme
- Tarragon
- Salt & Pepper
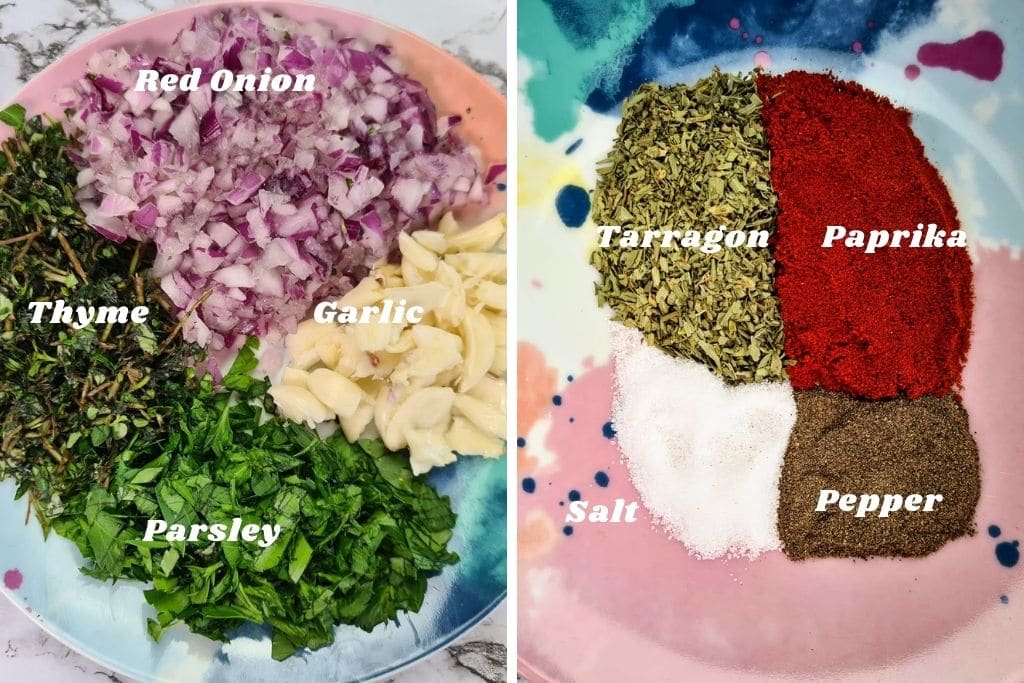
Alright, let’s get started with this recipe! First things first, grab a large brown or red onion and eight garlic cloves, and finely chop them up in a mixing bowl.
Next up, it’s time to add our magical concoction of herbs. We’ll need some fresh parsley, thyme, and tarragon, diced up until they fill one cup. If you can’t find fresh herbs, dried will work just fine – though I always think “fresh is best”!
If you’re using dried herbs, simply convert them into one tablespoon each. Finally, add one tablespoon of paprika, plus a teaspoon of salt and pepper.
Mix everything together, and voila – you’ve got a flavour-packed herb mixture that’s perfect for just about anything. Trust me, your taste buds will thank you!
Making The Brine
First up, grab a mixing bowl and add in all your herbs, diced onion, and garlic. Mix everything together until it’s nice and combined.
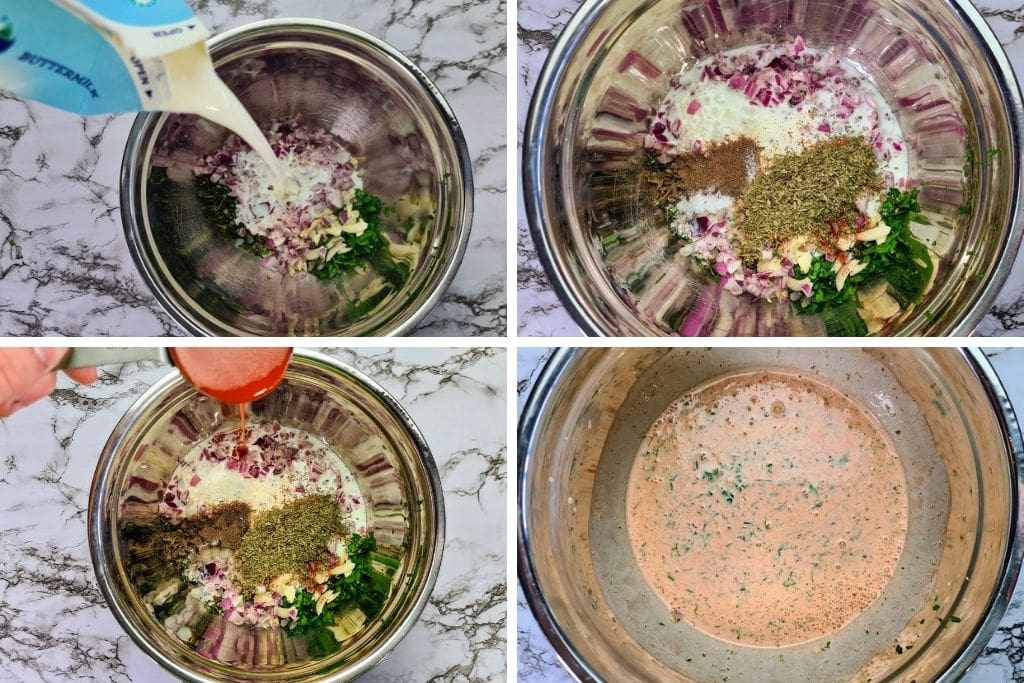
Next, pour in 600ml of buttermilk and give it another good stir. And now, for the secret ingredient – drumroll, please – Franks Red Hot Sauce! I know, I know, it’s not exactly a super secret ingredient, but trust me, it makes all the difference.
It adds just the right amount of kick to complement the herbs, onion, and garlic.
If you’re worried about it being too spicy, don’t be – it won’t burn, I promise! Just a little kick to wake up your taste buds.
Pop your chicken drumsticks into the brine, making sure they’re fully submerged, and cover the mixing bowl. Then, pop it into the fridge for at least 12-24 hours.
Personally, I recommend leaving the chicken in the brine for a full 24 hours. That way, the herbs and spices have plenty of time to soak into the meat and really amp up those flavours. Trust me; it’ll be worth the wait!
How To Make The Breading?
When it comes to making the breading for my air fryer marinated chicken drumsticks, it’s the perfect opportunity to get creative and experiment with different herbs and spices.
Personally, I like to keep it simple with just a few key ingredients like paprika, onion powder, garlic powder, and a sprinkle of fresh parsley.
Of course, you can always mix it up and try your own blend of herbs if you’re feeling adventurous. But if you want to stick to my tried-and-true recipe, here it is!

Let’s make the breading now! Take a mixing bowl and put 2 cups of all-purpose flour, along with a tablespoon each of paprika, garlic powder, and onion powder.
For some extra seasoning, add a teaspoon of salt and pepper.
To finish it off, add about 1/4 cup of freshly chopped parsley and mix everything together.
A quick tip: If your mixing bowl has a lid, use it to shake the ingredients well for easier mixing.
Time To Break Out Your Air Fryer
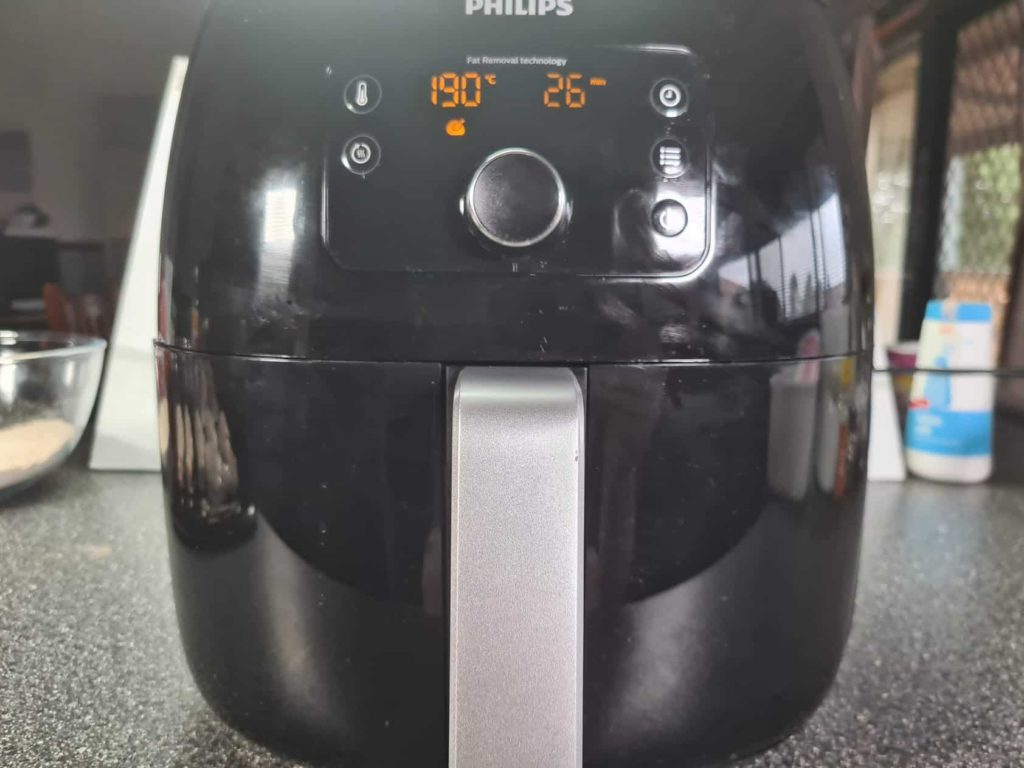
For this recipe, I use my Phillips XXL Air Fryer, which is fantastic, by the way. It’s crazy what you can cook in this thing.
First, plug in your air fryer and set it to the chicken setting if that option is available.
Unlike many recipes that use eggs or an egg and milk solution to make the flour stick to the chicken, my air fryer marinated chicken drumsticks recipe skips this step. This not only saves time but also reduces the mess.
Take out the well-brined chicken from the fridge and use a pair of tongs to remove any excess buttermilk. Then, dip the drumstick into the breading mix, covering it completely with flour.
Be sure to pull down the skin and cover it with the mixture for a crispy coating.
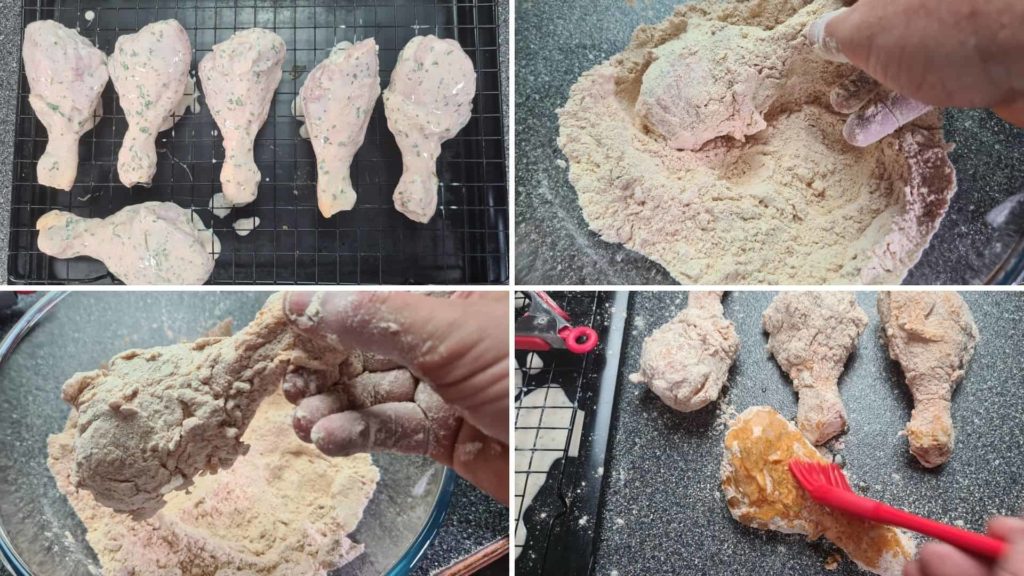
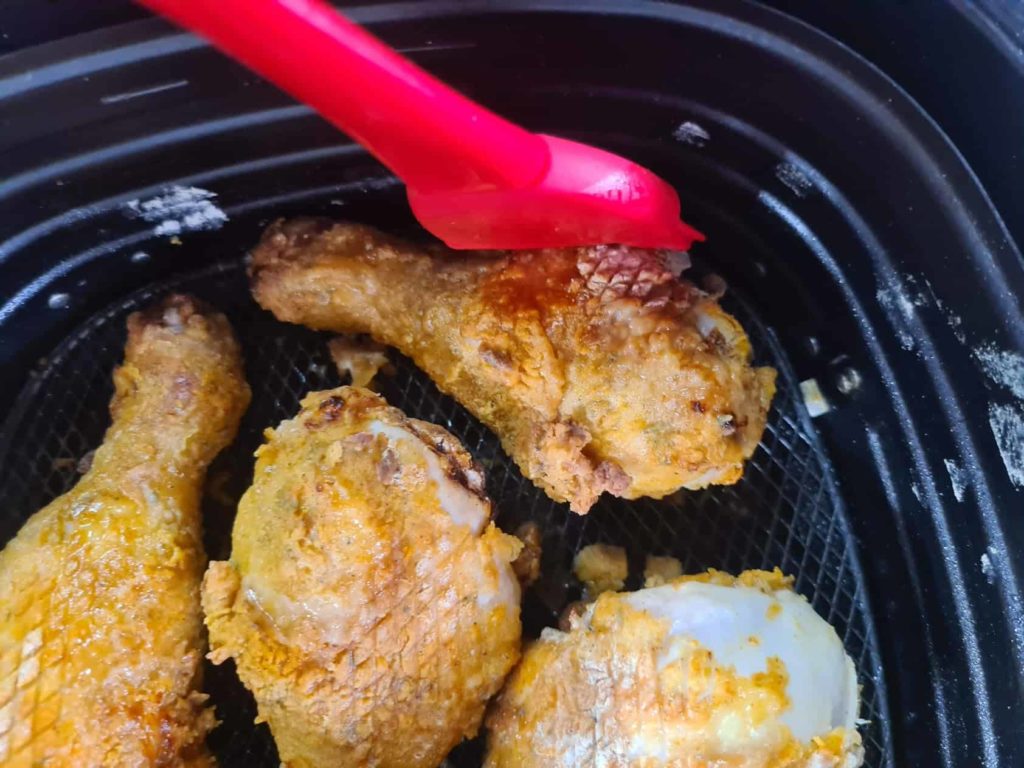
Begin by picking up the drumstick from the bottom and shaking off any excess flour before placing it into your air fryer.
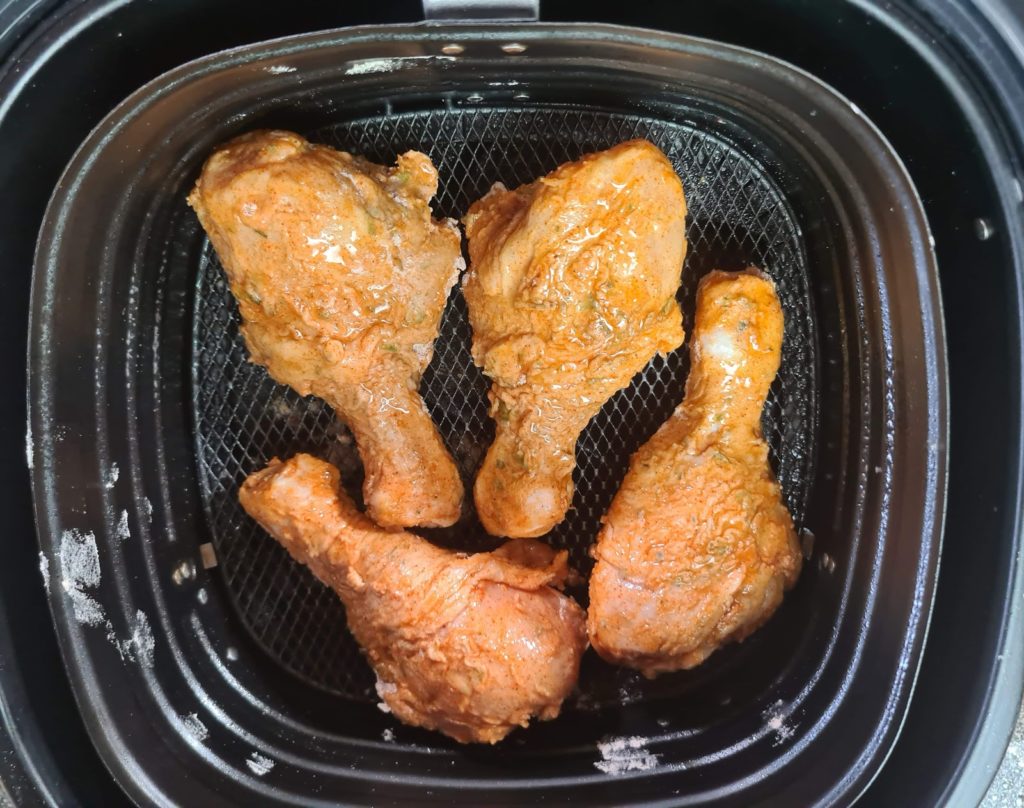
It’s crucial not to overload the air fryer and to only place enough drumsticks onto the tray that they don’t touch each other, allowing the air to circulate around the chicken. Stacking the chicken is also a no-go.
For some added crunch, baste the chicken with a small amount of oil. This not only helps the flour stick but also makes the skin crunchy.
Keep in mind that flour and air can make for a messy experience, so it’s best to use oils like olive, peanut, vegetable, or canola oil. From my experience, canola oil works best.
How Long do You Need to Cook Chicken Drumsticks in an Airfryer?
To cook moist and juicy air fryer chicken drumsticks, set the temperature to 190°C / 375°F and cook for 26 minutes in a Phillips XXL Premium Air Fryer.
Cooking time may vary depending on your air fryer model, so it’s best to use a meat thermometer to ensure the internal temperature of the thickest part of the drumstick has reached at least 73°C / 165°F, which is considered safe for eating.
Take note of the cooking time it took to reach the safe temperature, which will serve as a reference for future cooking.
At the halfway point of cooking, pause the air fryer and turn the chicken over to baste the other side with oil before resuming cooking.
Once the air fryer has finished, place the chicken on a paper towel and allow it to cool for a bit before serving.
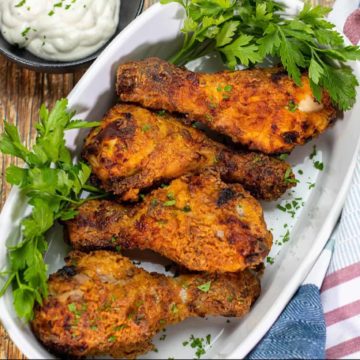
What To Serve With Air Fryer Marinated Chicken Drumsticks?
Listen up folks, because I’m about to drop some truth bombs on you. Plain old chicken drumsticks are about as exciting as watching paint dry. But fear not, for I have some killer suggestions to spice up your life (and your chicken)!
I’ve personally tested each and every one of these bad boys, and let me tell you; they’re a match made in heaven:
- Steamed or Boiled Vegetables
- French Fries or Crispy Potato Wedges
- Potato Salad with Egg and Bacon
- Creamy Mayo-Free Homemade Coleslaw
- Ceaser Salad
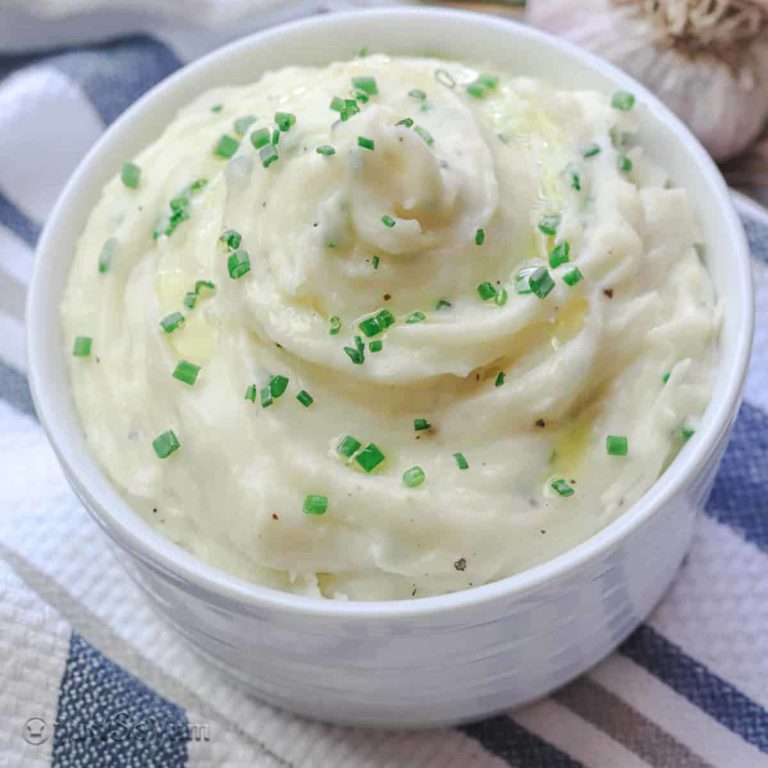
- Mashed Potato & Gravy
In Conclusion
here’s a fun fact: my air fryer marinated chicken drumsticks are so versatile, you can eat them cold straight out of the fridge, like a snack attack at midnight. Or you can pack them up in your kid’s lunchbox, and they’ll be the envy of the entire school.
And don’t forget, these bad boys will stay fresh in the fridge for up to 3 days. But let’s be real; they won’t last that long because they’re just too darn delicious.
If you decide to experiment with different herbs and spices, hit me up with your suggestions. Who knows, maybe we’ll create a viral TikTok recipe together. So, dig in and ENJOY!
Super Juicy Air Fryer Marinated Chicken Drumsticks
Equipment
Ingredients
Making The Marinate
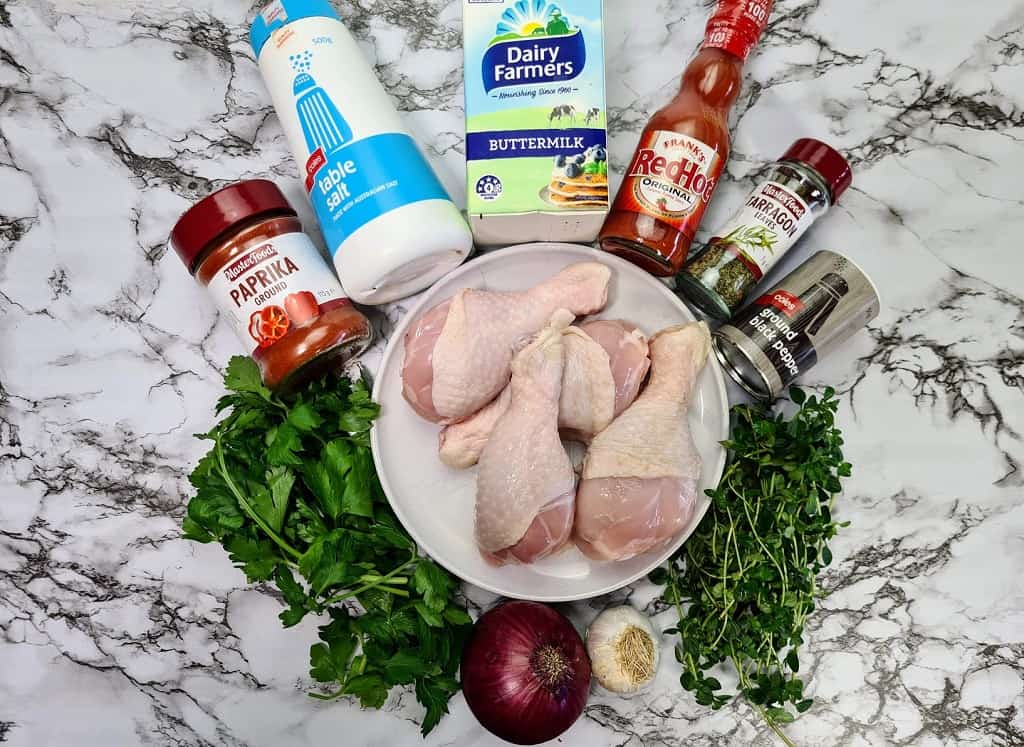
- 6-8 Chicken Drumsticks Skin On
- 600ml Buttermilk
- 8 Garlic Cloves Smashed
- 1 Onion Diced
- 1 Cup Fresh Herbs (Parsley, Thyme, Tarragon) Diced 1 tbsp of each dried herb if you don't use fresh
- 1 tbsp Paprika
- 1 tsp Salt
- 1 tsp Black Pepper
- 1/4 Cup Frank's Red Hot Original Hot Sauce
Making The Breading
- 1 Cup All Purpose Flour (Plain Flour)
- 1 tbsp Garlic Powder
- 1 tbsp Onion Powder
- 1 tbsp Paprika
- 1 tsp Salt
- 1 tsp Black Pepper
- Oil For Basting Canola, Vegetable, Olive Oil, Peanut
Instructions
Preparing The Marinate
- Smash garlic and dice up the onion, parsley, thyme, and tarragon and place into a mixing bowl
- Add the paprika, onion powder, salt & pepper
- Pour buttermilk into the mixing bowl and add the hot sauce, and mix thoroughly
- Add the chicken drumsticks to the marinade making sure to cover the entire drumstick with marinade
- Cover the mixing bowl and pop into the fridge to marinate for 24 hours
Preparing The Breading
- In another mixing bowl, add all-purpose flour
- Add garlic and onion powder, paprika, salt & pepper, and mix thoroughly
Air Frying The Chicken
- Take chicken from the fridge and place each piece onto a wire rack to let excess buttermilk drip off. Don't pat chicken dry with a paper towel. You need the flour to stick to the chicken
- Place one piece at a time into the flour mixture and cover with flour. A kitchen hack I know is to put the lid on the mixing bowl and toss the chicken inside. It's quicker and less messy. Shake off anyyexcess flour and add the breaded chicken to another clean wire rack
- If you know how many chicken drumsticks your air fryer can hold then only add that many to the flour mixture, and just repeat this procedure untillall of your drumsticks are cooked
- Lastly, baste a small amount of your chosen oil around the chicken so you don't see any flour. Don't worry about the bottom as this is done once the chicken has cooked through half-way
- Turn your air-fryer to the chicken setting and set a temperature of 375°F (190°C) for 26 minutes
- With 13 minutes remaining or at the half-way point, pause your air-fryer and turn the chicken over basting any remaining flour with a small amount of oil
- Restart your air-fryer for the remaining cooking time
- Once the chicken is cooked place it on a wire rack and allow to cool before eating. repeat steps 2-8 if more chicken is required and ENJOY!!!